Firstly, I’ve got to admit that cooking a whole fish can be a daunting task for even a skilled home cook. Will there be more prep? Will it be flavorful enough? What about the bones? While the dish itself can look impressive, preparing a whole fish could not have been simpler.
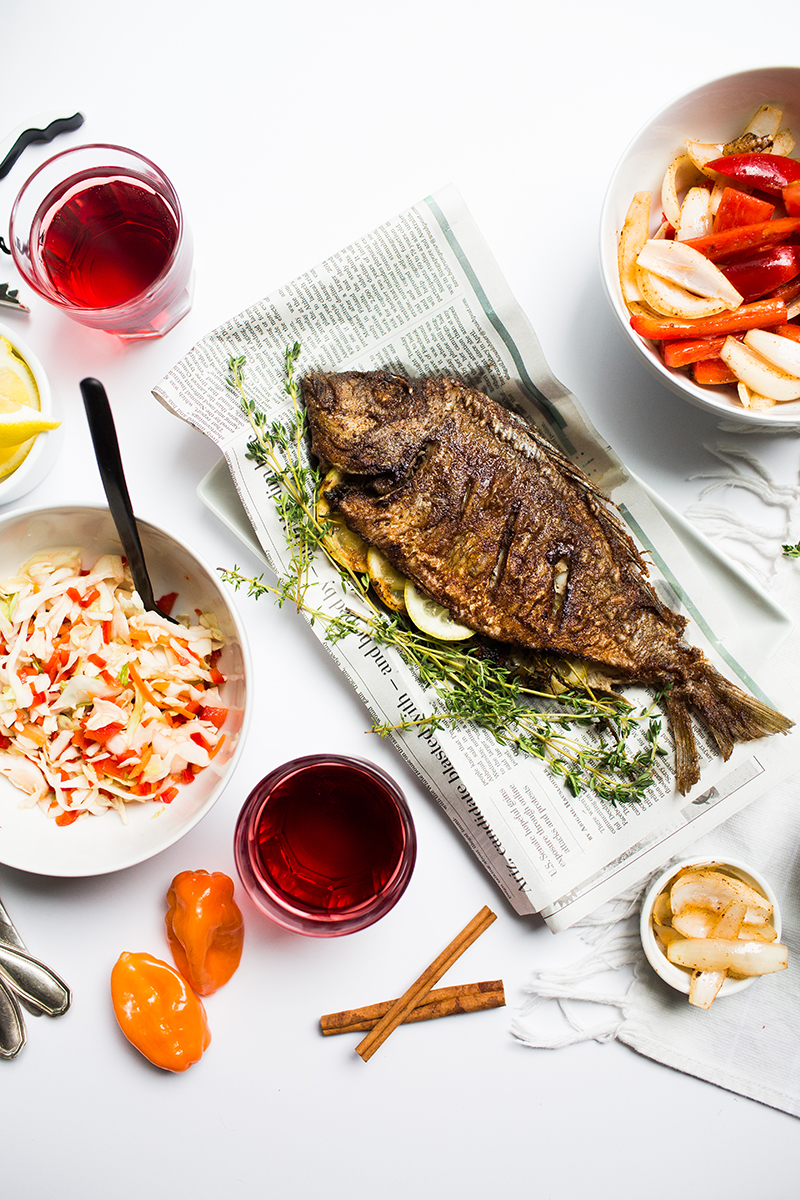
Back in St. Thomas last year on our Carnival cruise, a local food vendor came by to chat with us during our stay on Coki Beach, and when we asked about a lunch menu, he recommended the catch of the day. 20 minutes later, we were presented with a beautiful, whole fried fish, a side of rice and peas, and stewed vegetables. One of my fondest memories from the trip was eating this delicious, fresh fish right on the beach, and thought it was time to replicate it.
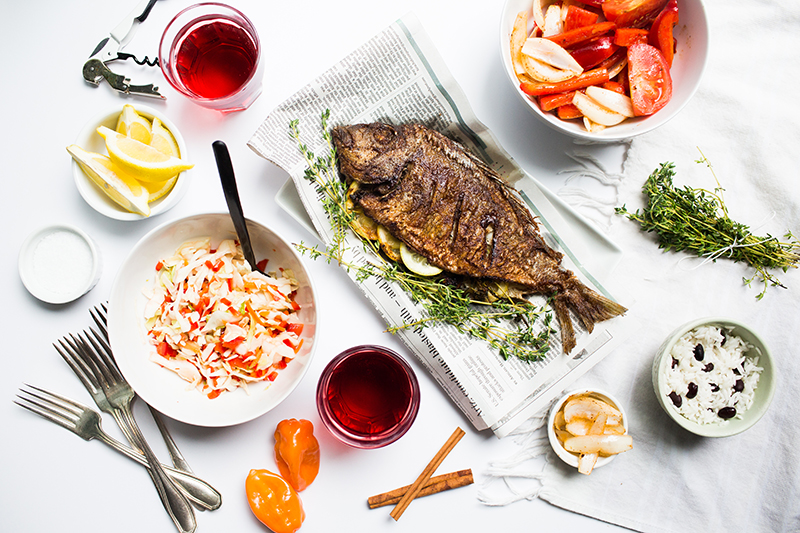
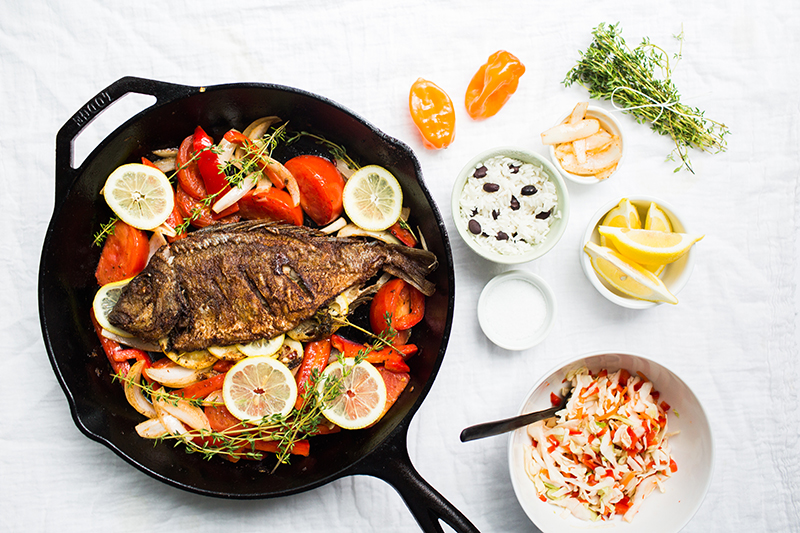
We’ve seasoned the fish with several of the spices that make up jerk seasoning (cumin, cinnamon, etc.), but you could easily purchase a jerk seasoning mix if you want to make the process even more streamlined! We decided to serve our fish with veggies, rice and coleslaw but you can easily change that up depending on what you have on hand.
Ingredients (for fish):
- 2-3 lbs of any whole fish (tilapia, porgy, snapper, etc.)
- 2 tsp ground allspice
- 1/4 tsp ground cinnamon
- 1/8 cup brown sugar
- 1/2 tsp ground cumin
- 1/2 tsp ground ginger (or 1 inch piece freshly grated ginger)
- 1/2 habanero pepper, seeds removed (optional)
- 2 cloves of garlic
- 1/2 tsp black pepper
- 1 tsp salt
- vegetable oil
- 1/4 cup flour
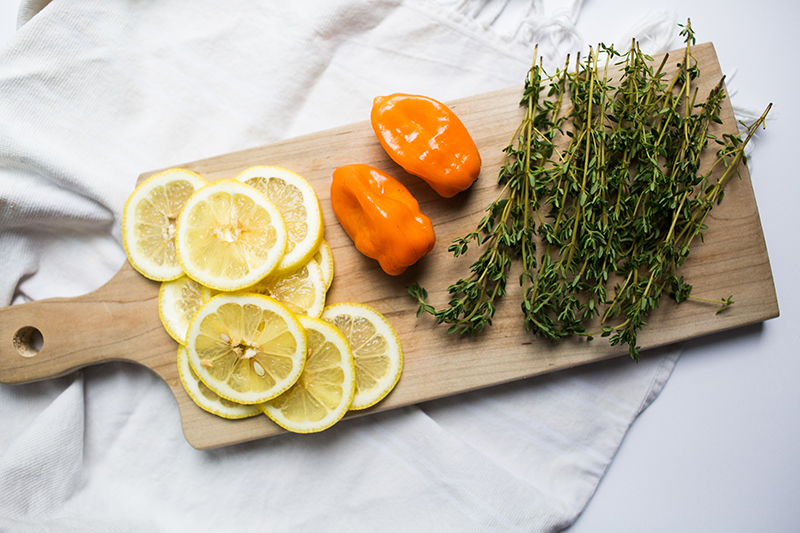
- 1 lemon, sliced
- fresh thyme
- 1 large tomato
- 1 red bell pepper
- 1 medium onion
Ingredients (for coleslaw):
- 1⁄2 of a small cabbage, sliced thinly
- 1 carrot, sliced
- 1⁄2 of a mango or 1⁄4 of a pineapple, thinly sliced (optional)
- 1⁄2 of a red bell pepper, thinly sliced
- 1⁄2 habanero pepper, seeds removed (optional)
- 1 tbsp apple cider vinegar
- 1 tbsp honey
- 1 tsp salt
- 1⁄2 tsp crushed red pepper flakes
Directions for fish:
- Heat a large cast iron pan over medium heat, add oil to the pan until it is about 1⁄2 inch deep (oil should be about 350 degrees). Note: you won’t fully submerge the fish in oil. Instead, it will be flipped halfway through cooking.
- Rinse the fish under cold water, make sure to remove any remaining scales. Split the fish down the middle to create a cavity between the filets.
- Mix together the allspice, cinnamon, sugar, cumin, ginger, habanero pepper, garlic, black pepper, salt, and vegetable oil into a food processor and blend to combine.
- Use a brush to thoroughly coat the entire fish with the blended spice mixture inside and out.
- Place the flour on a plate and coat the outside of the fish in the flour.
- Stuff the inside of the fish with 5-6 lemon slices and a healthy portion of fresh thyme.
- Place the fish into the oil and cook on one side for roughly 7-10 minutes, or until golden brown.
- Flip the fish and continue cooking for an additional 7-10 minutes on the other side.
- Remove the fish from the pan and set onto paper towels to dry.
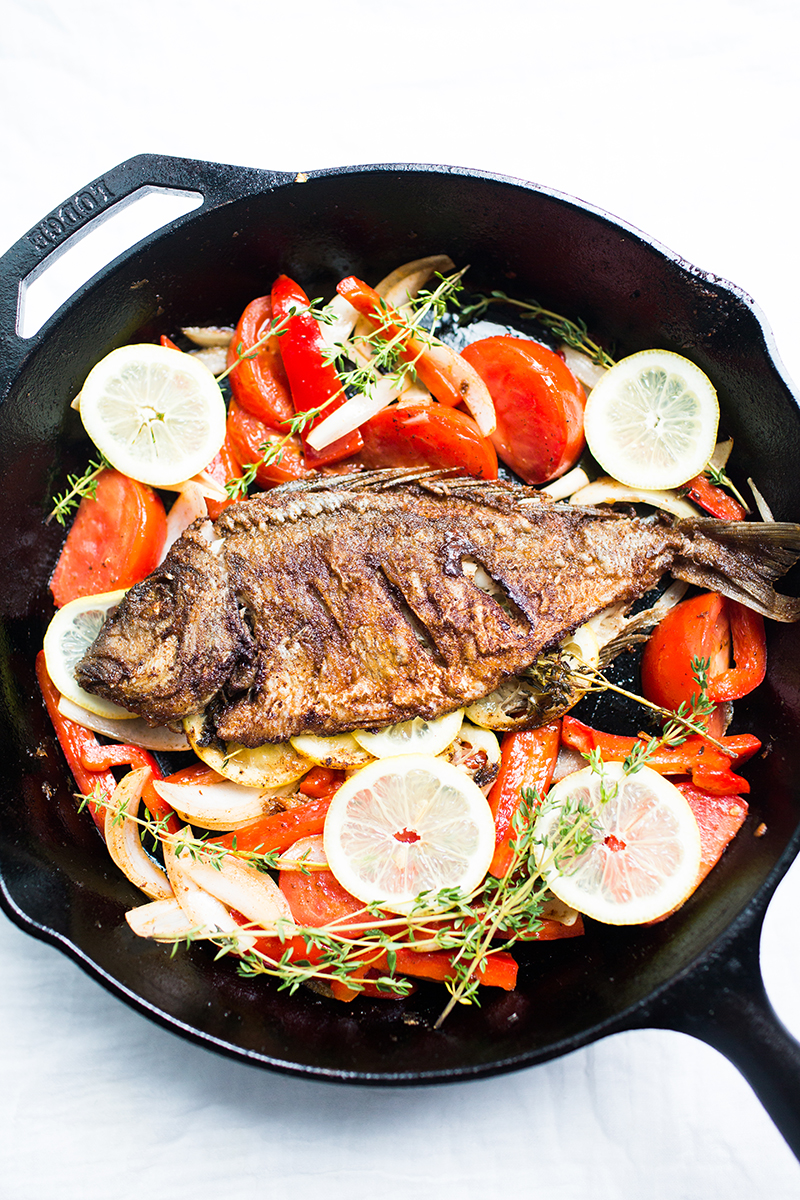
- Add the chopped tomatoes, red pepper and onions and saute for 2-3 minutes, just enough to get them to pick up the leftover spices from the pan.
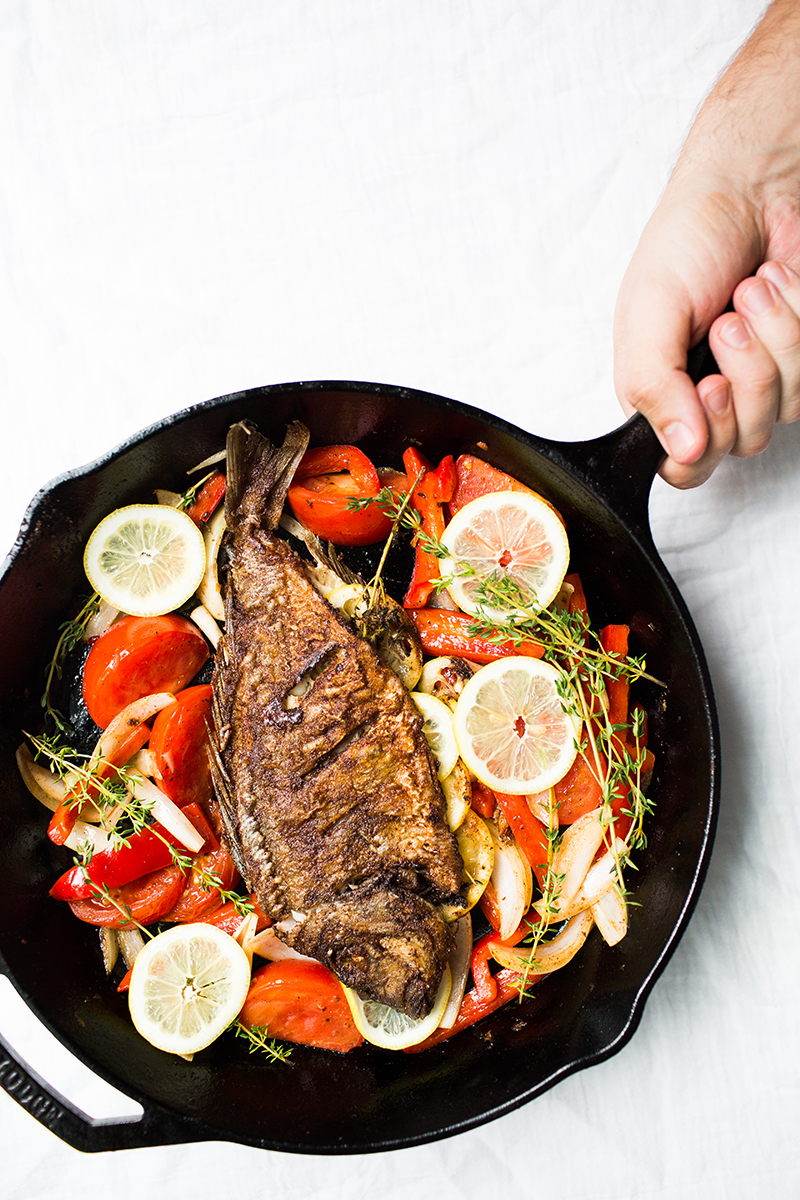
- Serve the fish surrounded by the cooked vegetables, squeeze lemon over top if desired.

Directions for coleslaw:
- Combine the cabbage, carrot, mango, red bell pepper and habanero pepper (optional) into a large bowl.
- Whisk together the honey, vinegar, and salt and pour the mixture over the vegetables.
- Cover bowl and marinate for at least one hour in the refrigerator.
![]()
This post was created for Away We Go with Carnival, the destination for getting in the getaway state of mind. Head on over.