AN EASY COCONUT SHRIMP RECIPE

For me, there are few other dishes that evoke the feeling of summer, dining al fresco, and a lazy vacation day quite like coconut shrimp. Back when we sailed on the Carnival Breeze last year, we ate tons of amazing seafood and all the shrimp we possibly could, but the coconut shrimp at RedFrog Pub was a favorite. When we returned back from our trip, I figured it was time that I learned to make the dish at home.
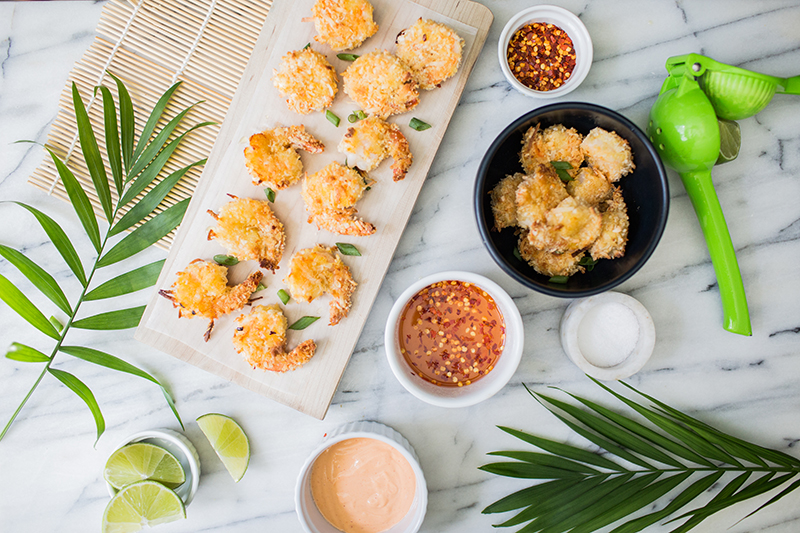
Though it’s one of my favorite ways to prepare and eat shrimp, coconut shrimp can be a bit unhealthy in its traditional fried form. Here, I’ve opted to bake the shrimp instead. You get the same great crunch and coconut flavor, but it’s a lot healthier and in my opinion, a lot easier to cook as well!

I’ve found that this is a great dish to serve as an appetizer while entertaining. It ends up looking a lot more impressive and difficult than it actually is (preparing it really could not be easier), and it’s been a crowd pleaser every time I’ve made it for guests. I like to prep it with two different sauces: a tangier one and a creamier one, but you could experiment with other flavors and sauces to your liking. It’s a really versatile dish so the options are pretty limitless!

Baked Coconut Shrimp Recipe:

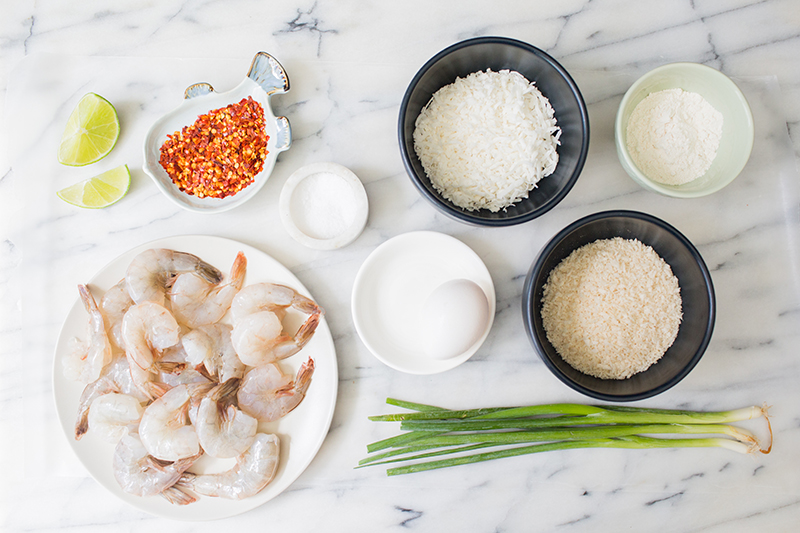
Ingredients (for shrimp):

  • 1 lb large raw shrimp, peeled and deveined
  • 1/2 cup shredded sweetened coconut flakes
  • 1/2 cup panko bread crumbs
  • 1⁄2 tsp powdered ginger
  • 1⁄2 tsp garlic powder
  • 1⁄2 tsp cayenne pepper
  • 1 large egg
  • 1 tsp salt (or to taste)
  • 1 tbsp all purpose flour
  • Olive oil

Ingredients (for tangy dipping sauce):

  • 1 tbsp rice wine vinegar
  • 2 tbsp marmalade (we used guava jelly but orange or lemon marmalade would work nicely too)
  • 1⁄2 tsp crushed red pepper flakes

Ingredients (for creamy Sriracha mayo sauce):

  • 1⁄4 cup mayonnaise
  • 1 tbsp Sriracha (you could add more if you want the sauce to be spicier)
  • Juice from 1⁄4 lime

Directions for shrimp:

1. Preheat the oven to 425 degrees. 2. Rinse and devein the shrimp, and lightly salt after deveining. You can remove the tails at this point if you prefer. 3. Combine coconut flakes, panko bread crumbs, powdered ginger, garlic powder, cayenne pepper and remaining salt in a bowl. 4. Whisk egg into the second bowl. 5. Place flour into separate bowl. 6. Spray or spread olive oil onto a baking pan. This is where you’ll be placing your full coated shrimp.
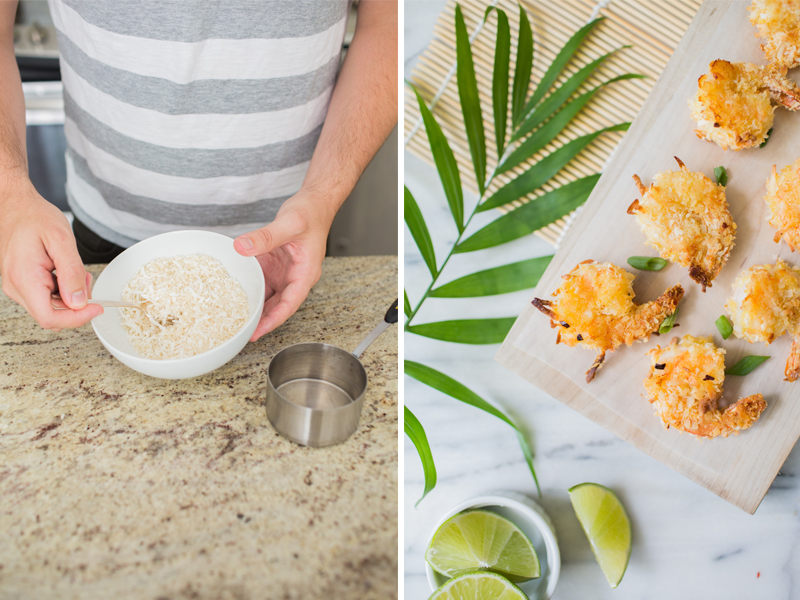
7. Start the battering process by dipping the shrimp into the flour to coat it evenly. Then, drop the floured shrimp into the egg; dip one last time into the panko and coconut flake mixture. Lay the breaded shrimp out onto your baking pan.
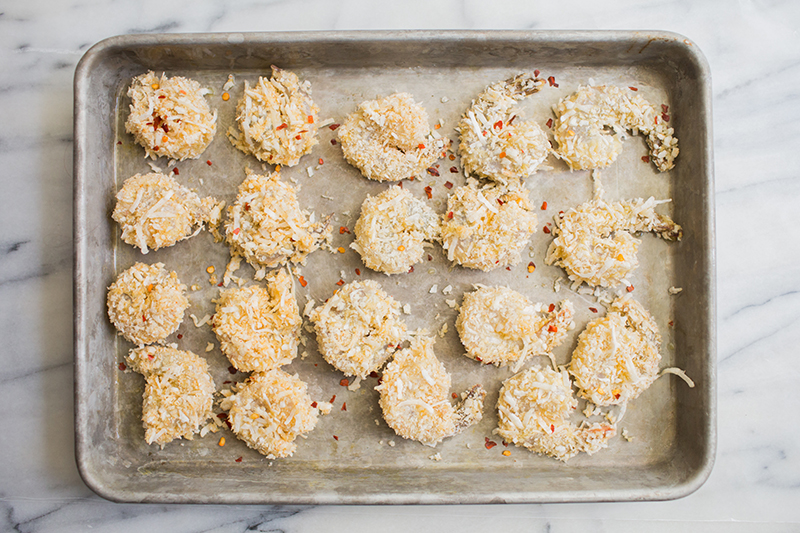
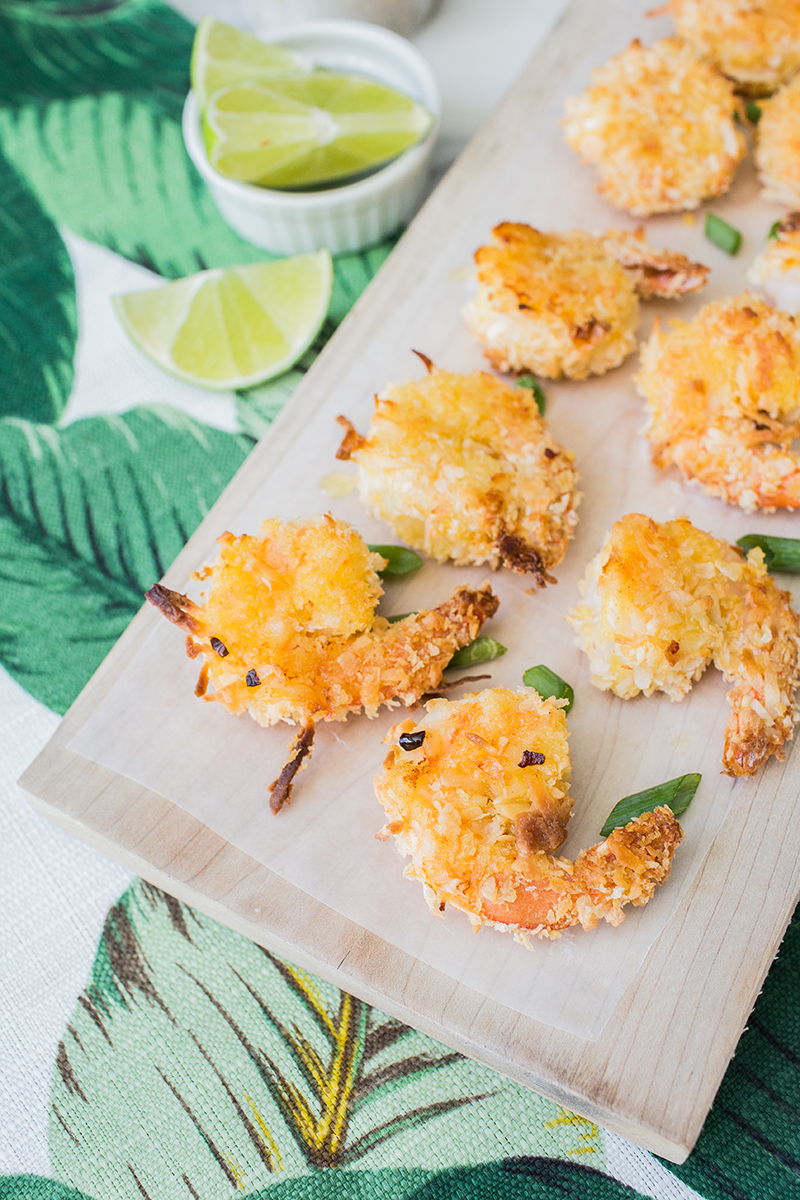
8. Once all of your shrimp are breaded, place them into the oven, and bake for about 8-10 minutes, or until the tops start to turn golden brown. 9. Turn the shrimp over after they’ve cooked 8-10 minutes. Place them back into the oven for 6-8 minutes or until browned and cooked thoroughly. 10. Combine your ingredients for sauces, and serve the shrimp immediately with lime wedges.
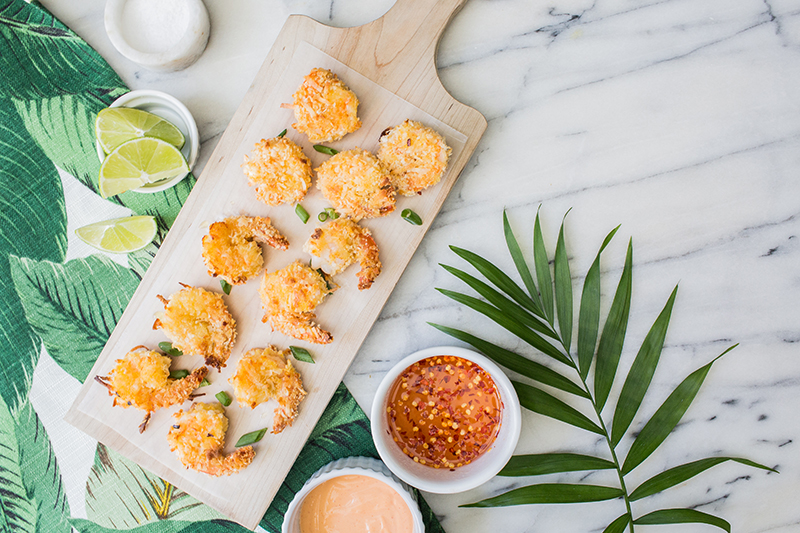
Directions for tangy dipping sauce:

1. Combine rice wine vinegar, marmalade of your choice and red pepper flakes in a small bowl and stir.
Directions for Sriracha mayo sauce:

1. Combine mayonnaise, Sriracha and lime juice in a small bowl and stir.

This post was created for Away We Go with Carnival, the destination for getting in the getaway state of mind. Head on over.

A Summer Grill Out

This post was sponsored by Bota Box. All opinions and thoughts expressed are my own. 

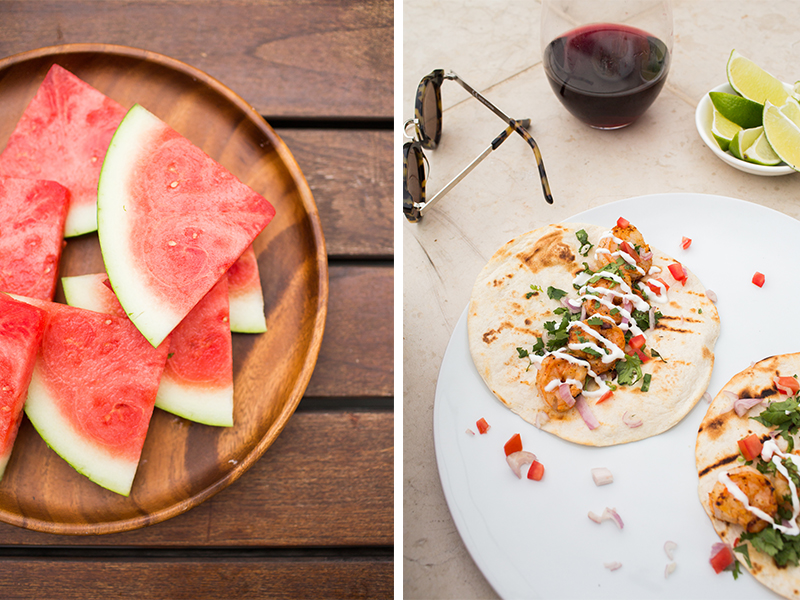
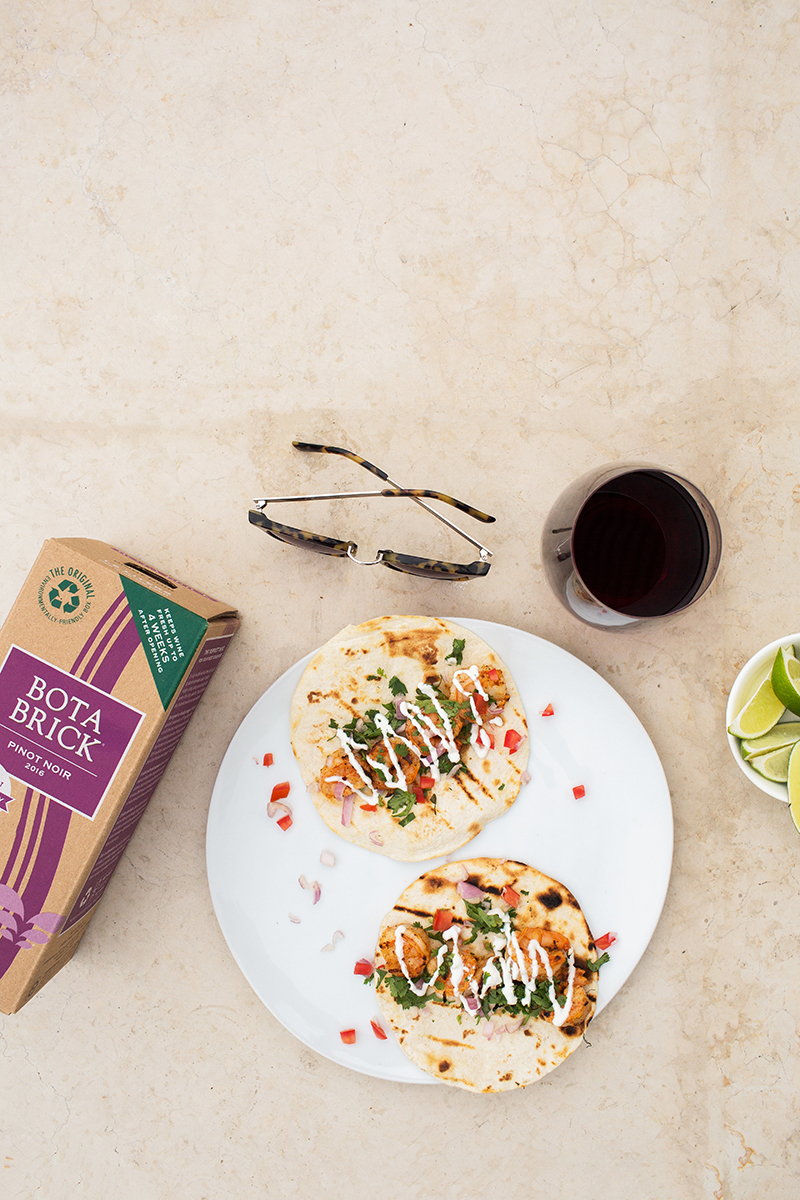
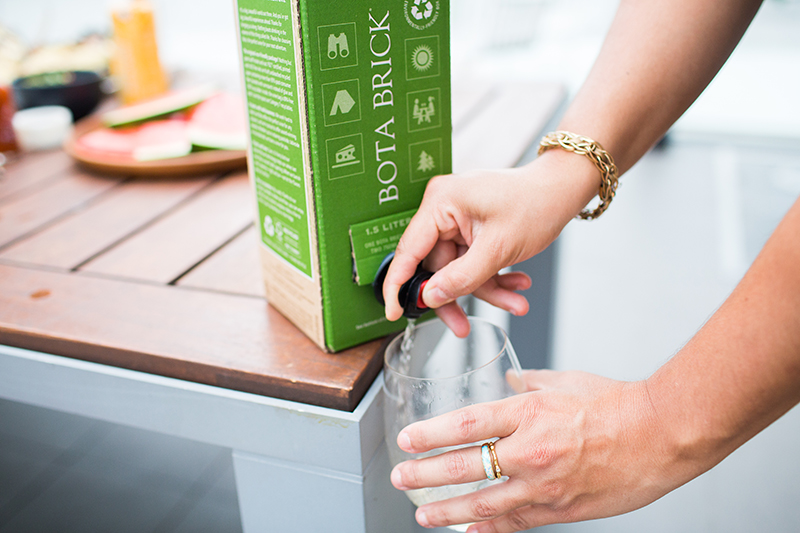
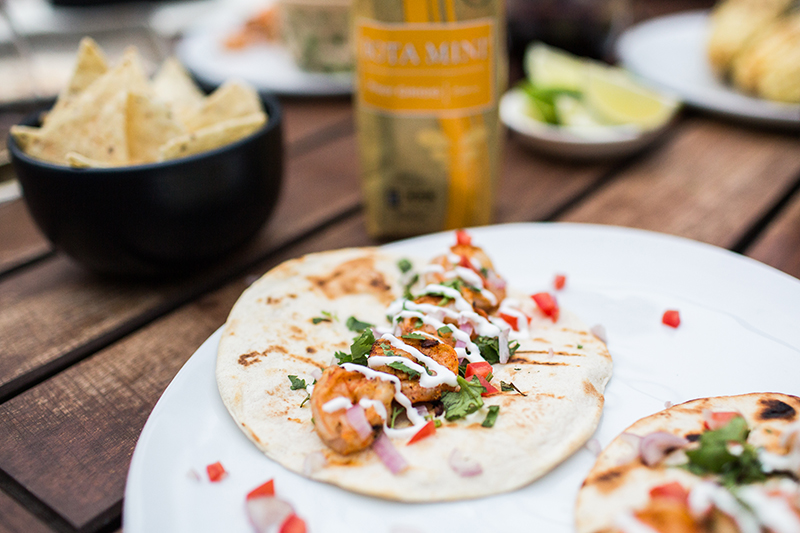
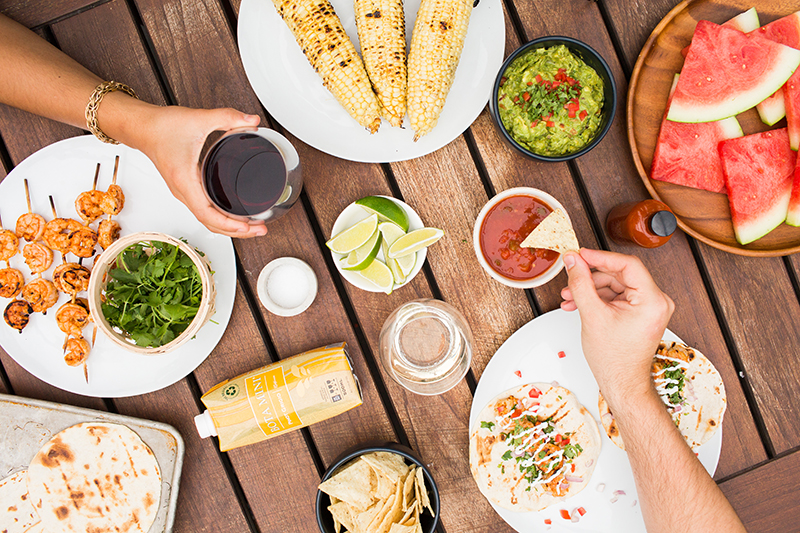
During the summer months, we try to spend at least a few nights a week up on our building's rooftop grilling dinner. We have a few go-tos in the rotation (bbq chicken, grilled veggies, flank steaks, etc.) but grilled shrimp is always at the top of my list. This time, we opted to have a couple of friends over, and change things up with grilled shrimp tacos instead. They are SO ridiculously easy to make, they're fast, and they're perfect to have on a hot summer night. Through my partnership with Bota Box, we poured some wine to go along with, and had the perfect evening.

I hadn't tried Bota Box before, but was really excited to find that the packaging is 100% recyclable, and creates 85% less landfill waste than traditional glass bottles. We've really been trying to reduce our carbon footprint, and use recyclable packaging and materials as much as possible so it's definitely a big selling point on that end. Best of all, the wine was delicious (the pinot noir is a personal favorite, but the pinot grigio went perfectly with the tacos). I've included the taco recipe below and you can visit www.botabox.com if you're curious about where to find a box near you!

GRILLED SHRIMP TACOS 

Ingredients:

  • 1 lb. jumbo raw shrimp
  • ½ tsp garlic powder
  • ½ tsp cayenne pepper
  • ½ tsp cumin powder
  • ½ tsp chili powder
  • ½ tsp black pepper
  • ½ tsp salt
  • 1 tbsp vegetable oil
  • 1 bunch cilantro
  • Lime wedges
  • 6-8 flour tortillas

Directions:

  1. Begin by soaking your wooden skewers in water. Soaking for at least 30 minutes allows the skewers to not burn on the grill as easily.
  2. Rinse, peel and devein the shrimp. Remove the tails.
  3. Combine the dry spices with the vegetable oil and stir to combine.
  4. Add the shrimp to the spice mixture and toss to coat evenly.
  5. Skewer 4-5 shrimp on each wooden skewer, leaving some room between each shrimp
  6. Fire up your grill on high to heat to roughly 400 degrees. Once grill is heated, turn burners down to medium.
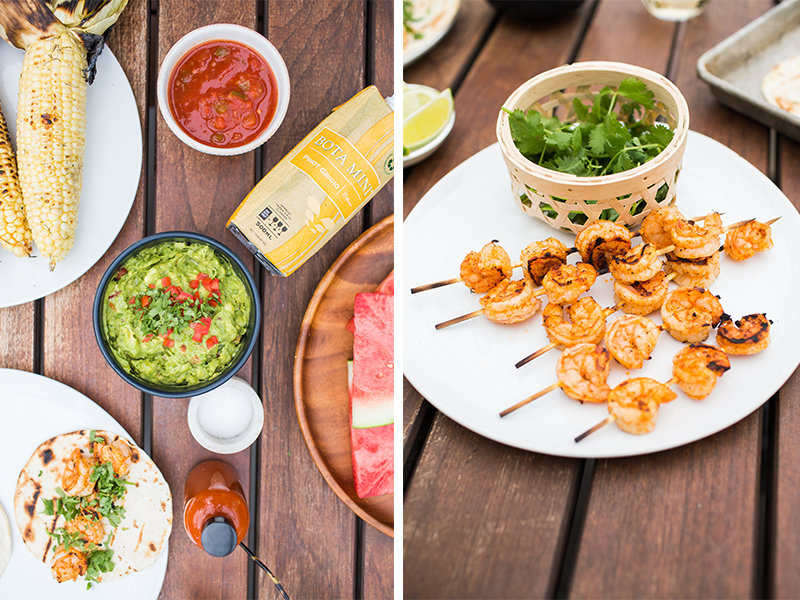
  7. Place the shrimp skewers onto the grill. Cook for roughly 2-3 minutes on each side, or until the shrimp start to lightly char around the edges.
  8. Serve the shrimp immediately by placing 4-5 shrimp on each grilled tortilla. Top with sour cream drizzle, fresh cilantro and serve with lime wedges.

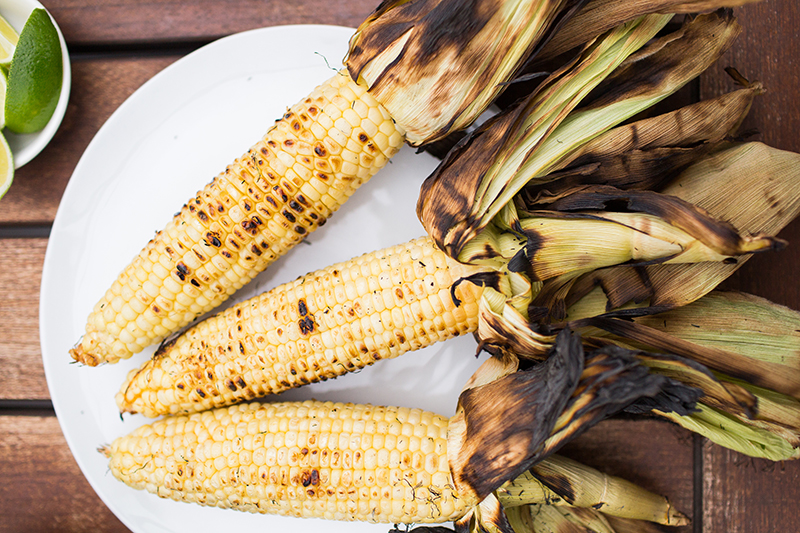
We served the tacos with chips and, guac, grilled corn and watermelon slices but extra grilled veggies, fresh salsa or grilled pineapple would work well too!

Pollo Guisado and a Rum Spritzer

Trying new foods and eating my way through a new city or country is hands down, my favorite way to travel. You can learn so much about a culture through their food, and there’s nothing better than having a local show you their favorite bbq spot or watering hole as you navigate a new place. IMG_2621

 It’s hard to believe it (especially with the current temperatures in DC), but we were visiting the Caribbean just a few days ago on the Carnival Breeze. As a food lover, I was so excited to explore all of the offerings both on and off the boat, especially since I’ve never been on a cruise before. In researching some of the cuisine that we’d encounter at our ports prior to sailing, the Dominican Republic stood out to me. I’d been there a few years ago, and fell in love with the friendly people and the incredibly delicious food. Our final stop on the cruise was in the Dominican Republic, allowing us to try some more of the local food there, including some incredible chicken and fish dishes cooked right on the beach (take me back!).

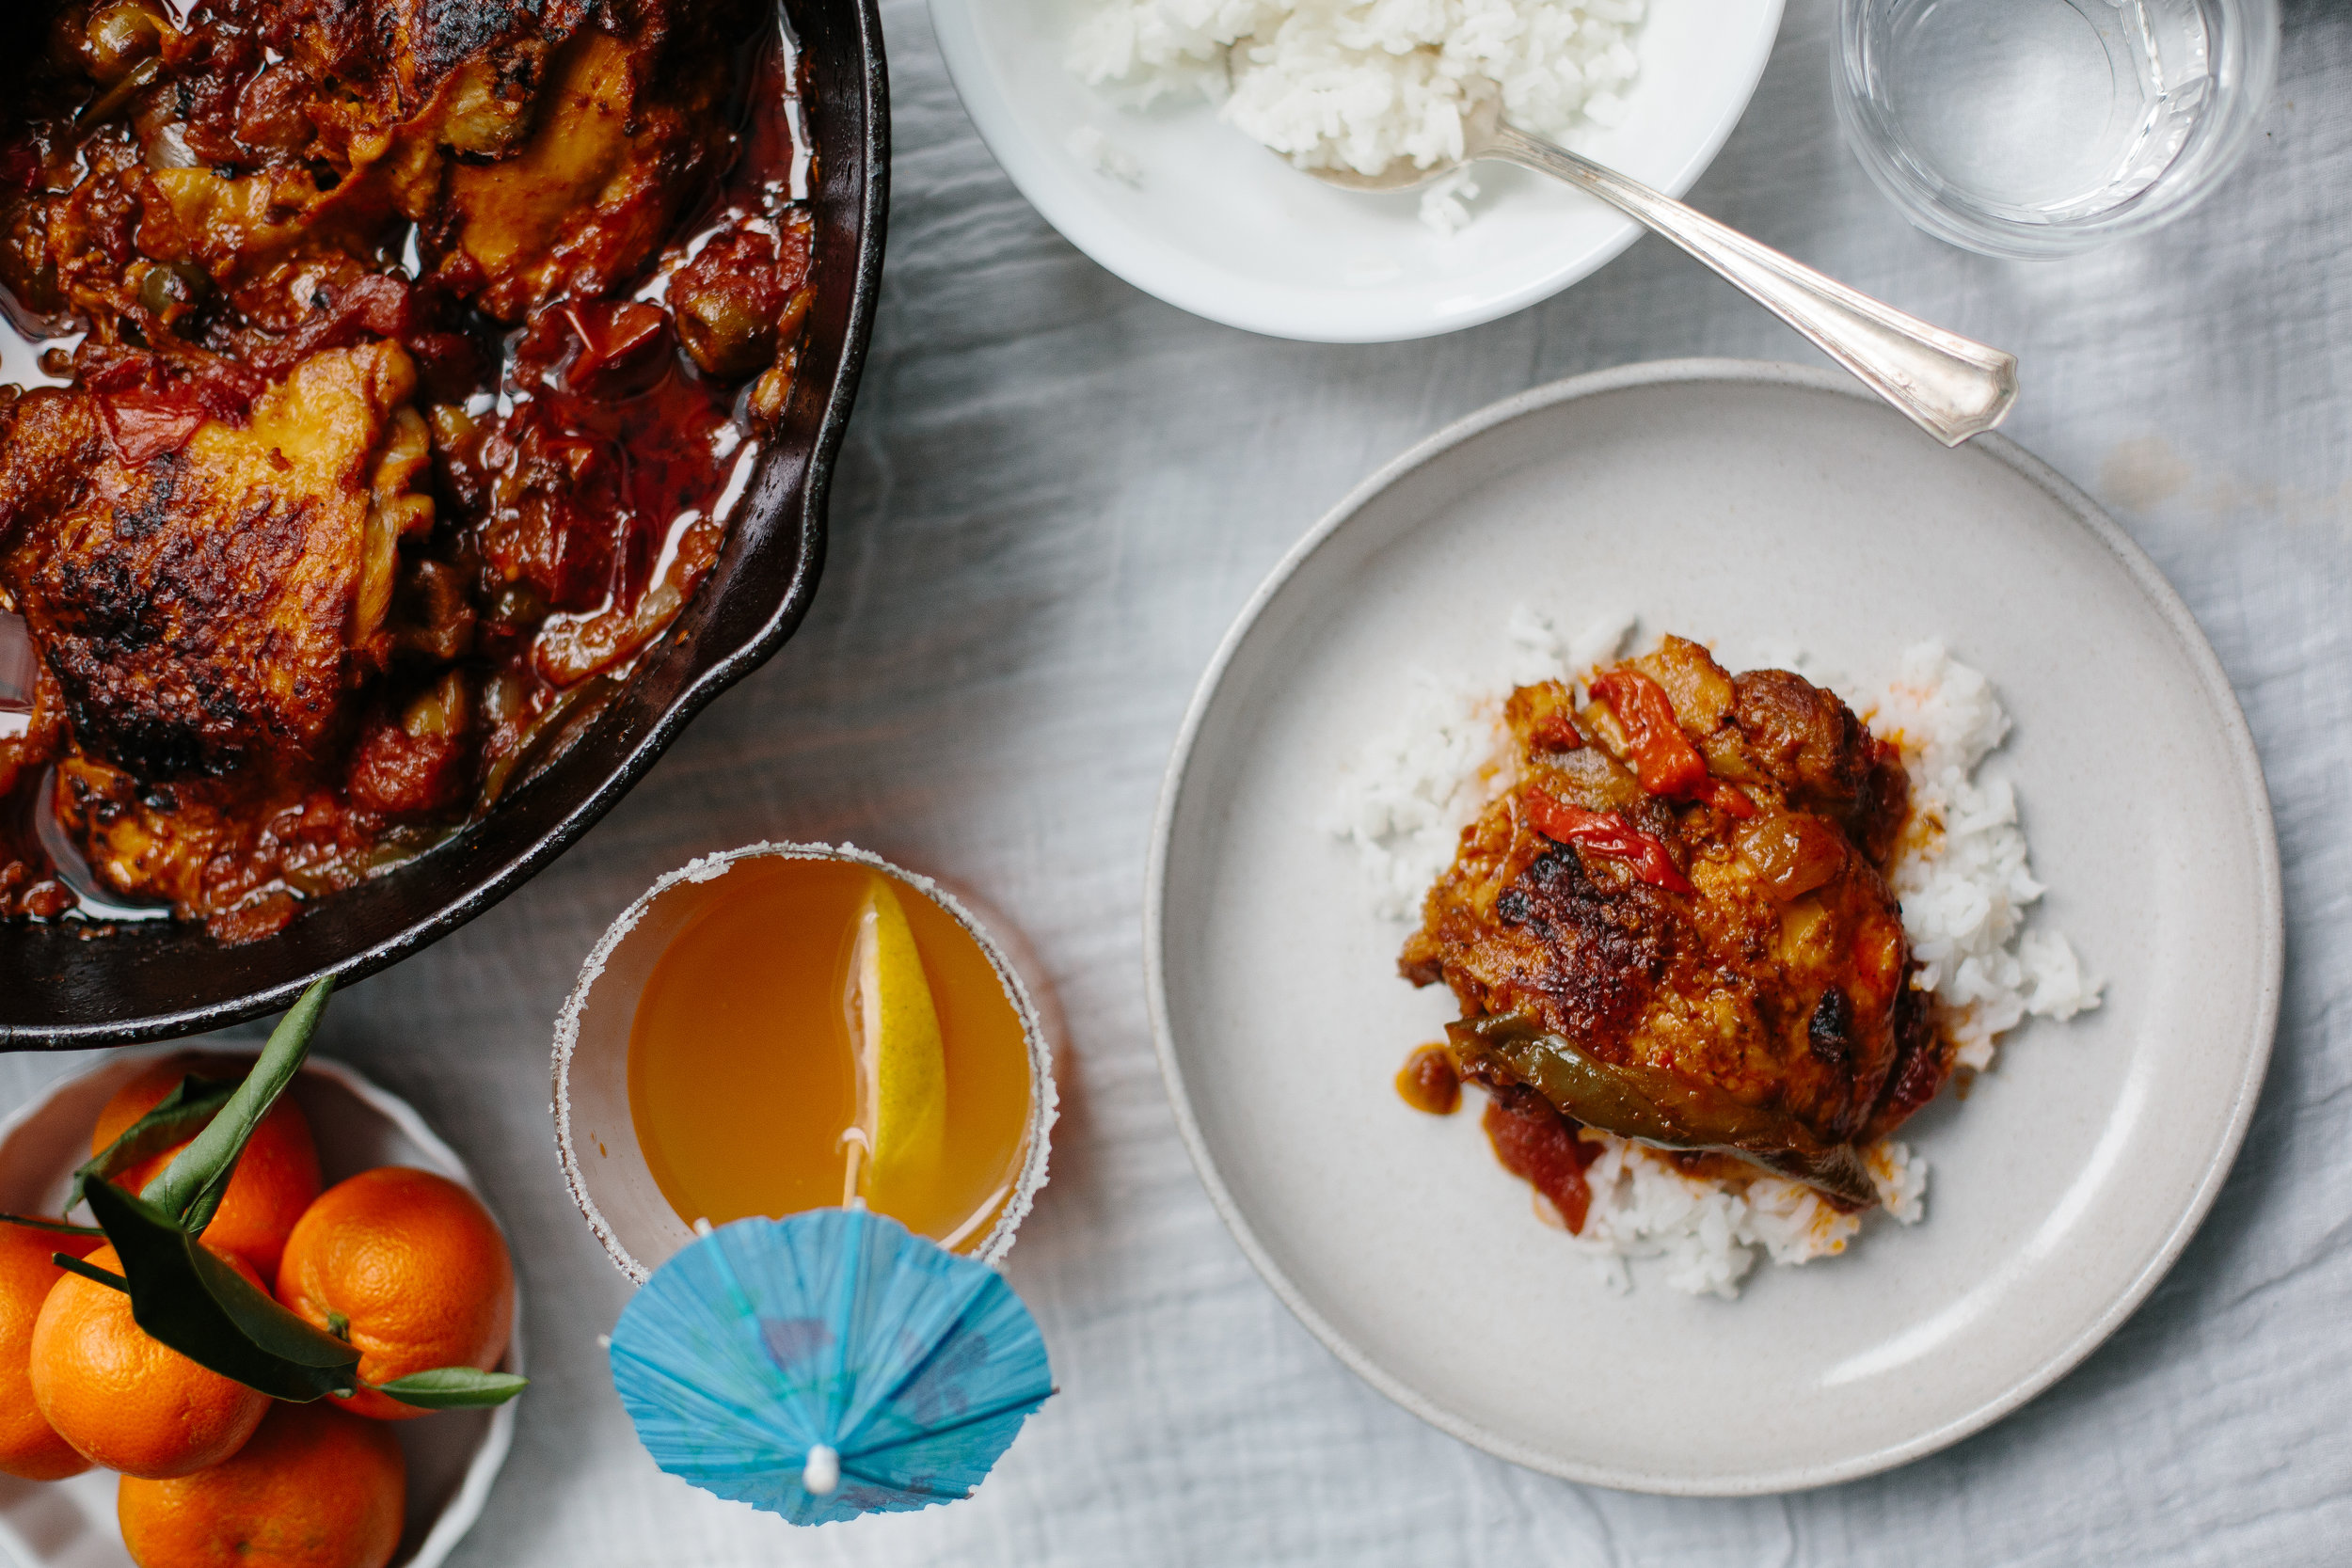
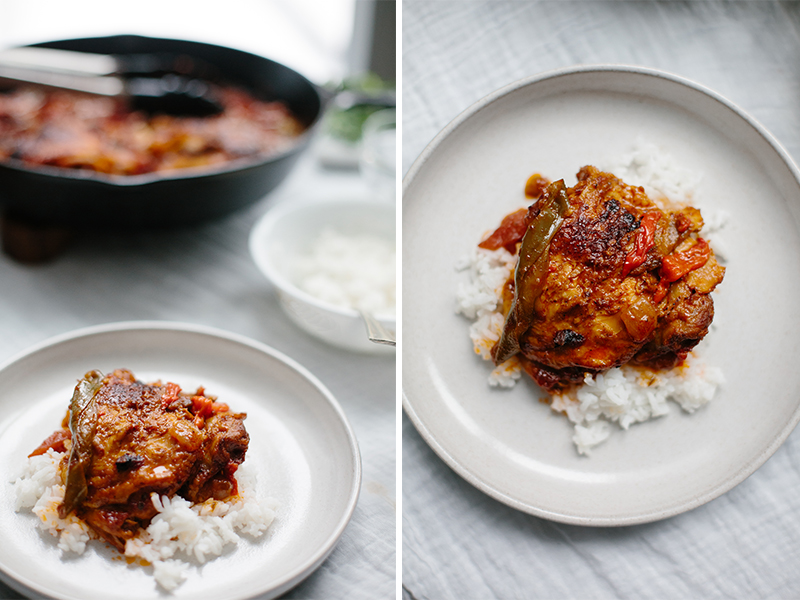
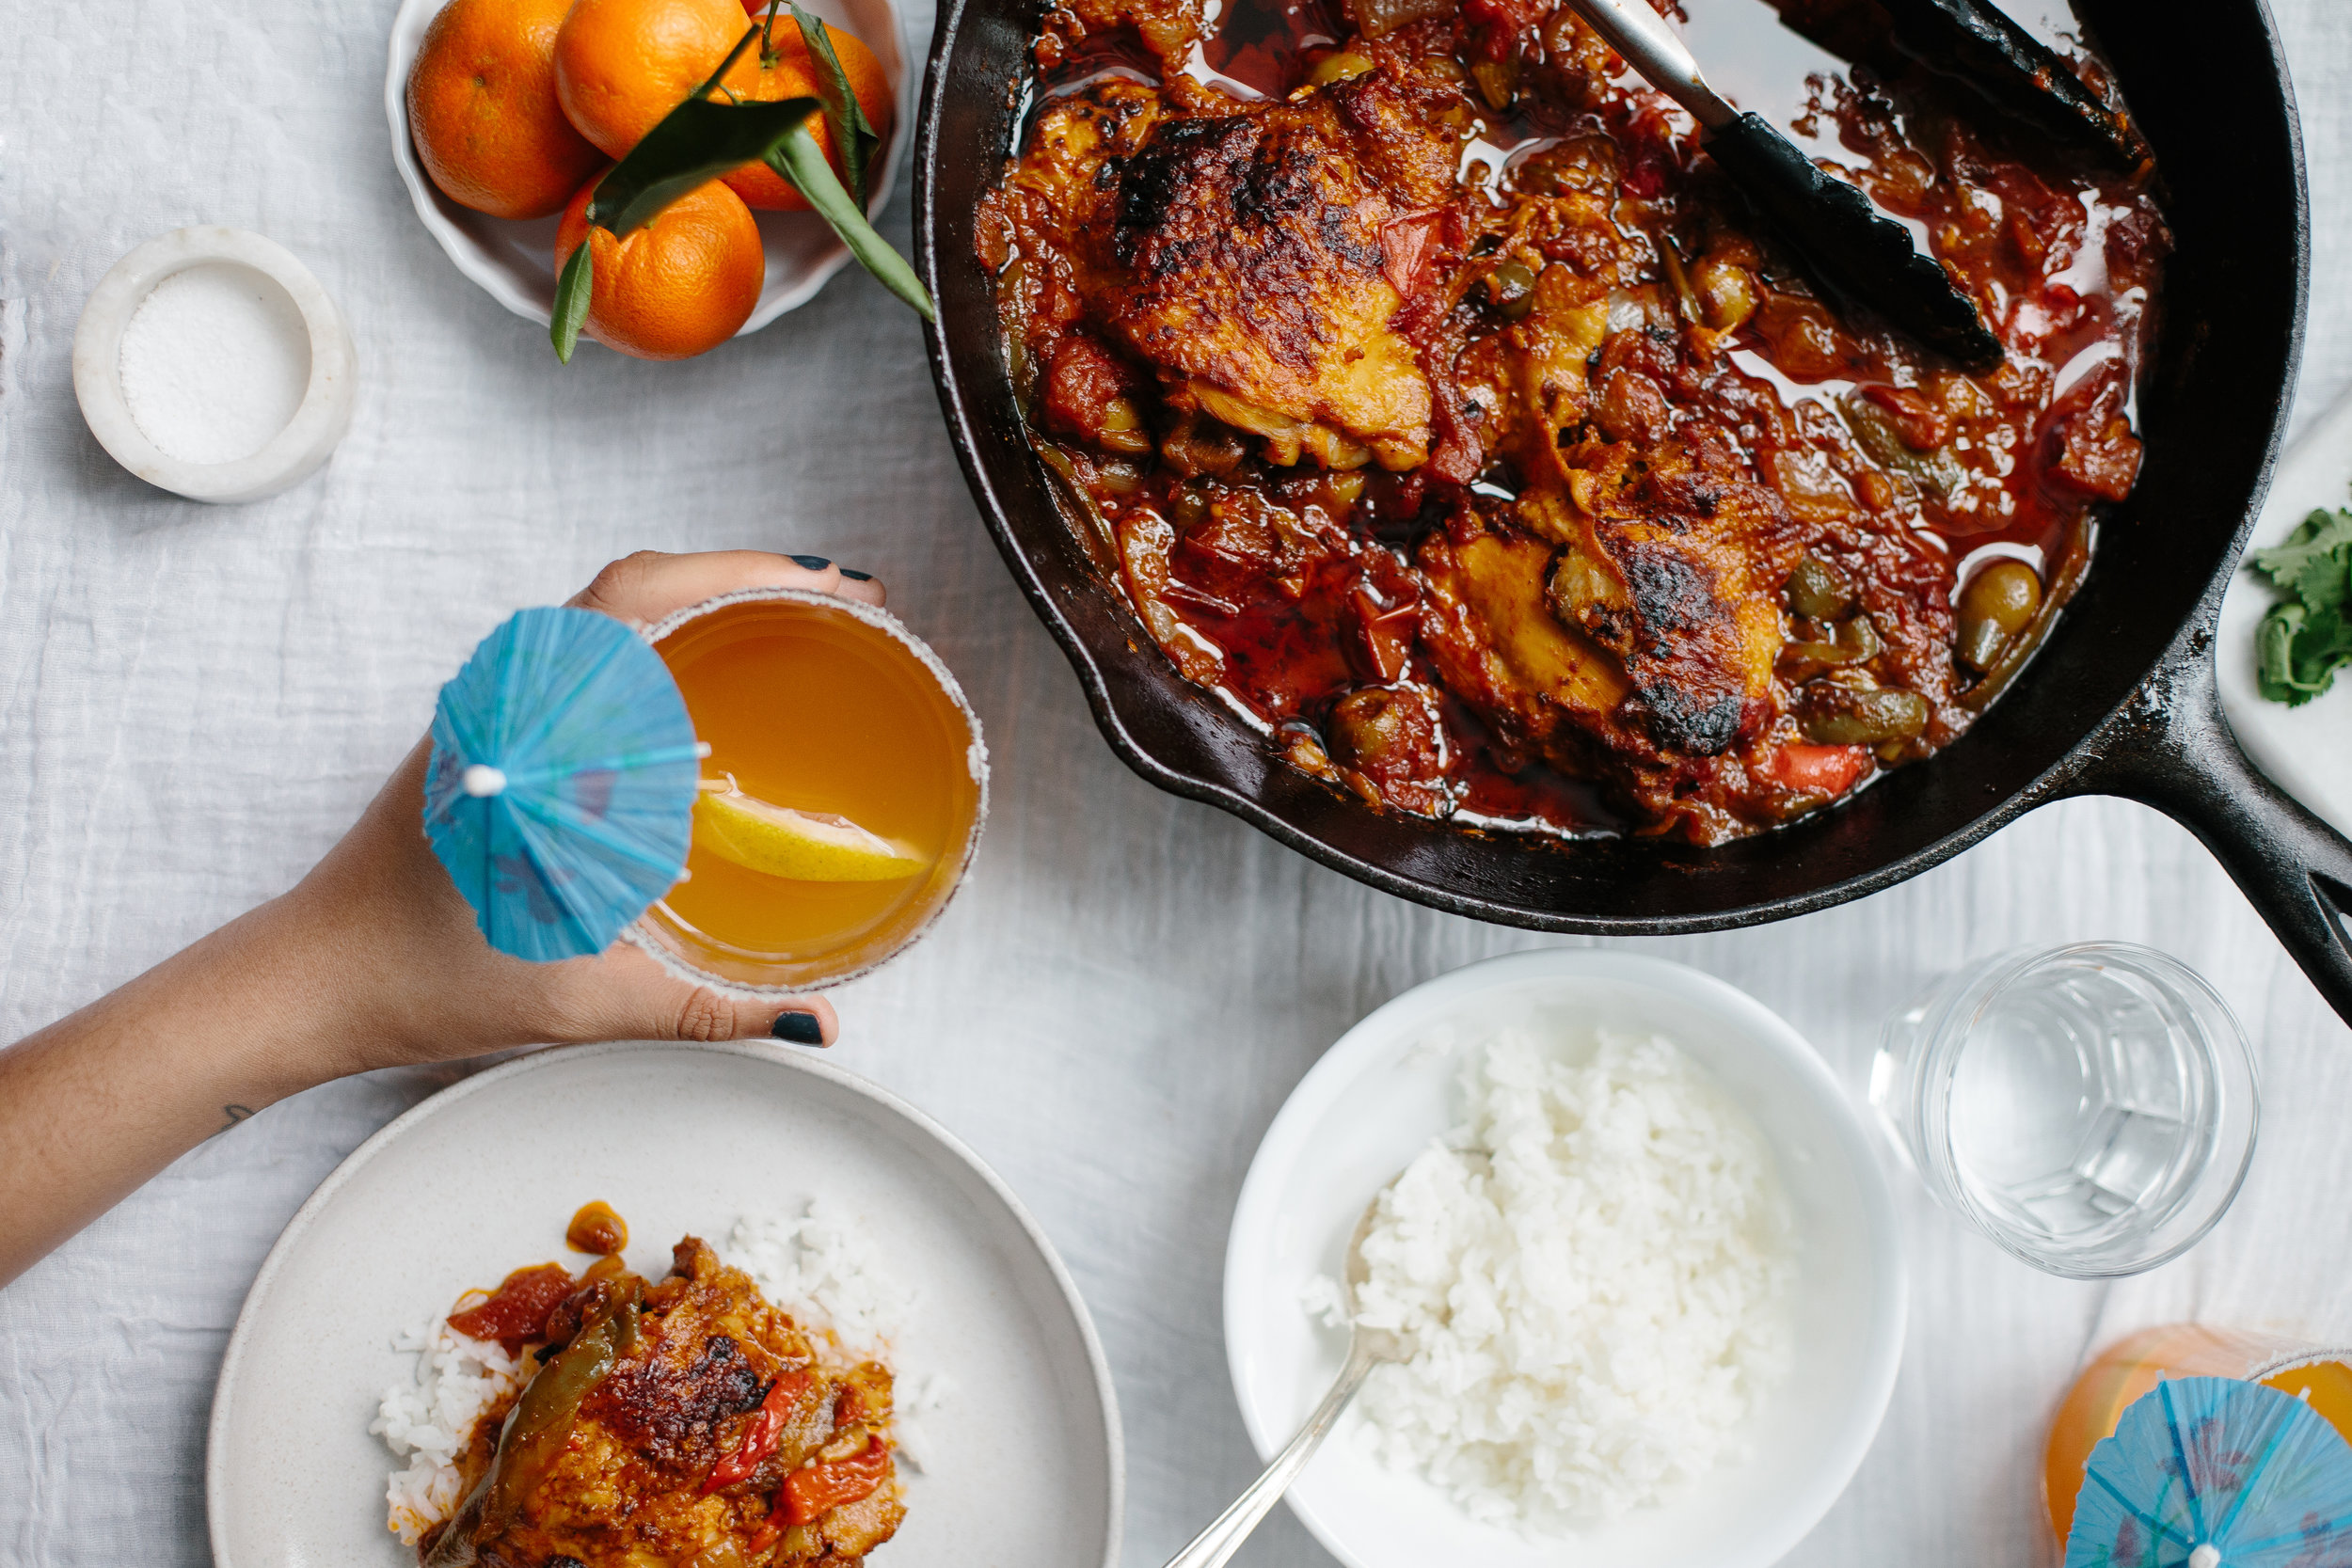
To pay homage to some of the great food we tried on the trip, we opted to try our hand at pollo guisado, a chicken dish that is very popular in the Dominican Republic. Until you make your way to the island yourself, this tasty chicken dish plus a recipe for a cocktail to go along with will have to do!

image2

POLLO GUISADO Servings: 4 people

Ingredients:

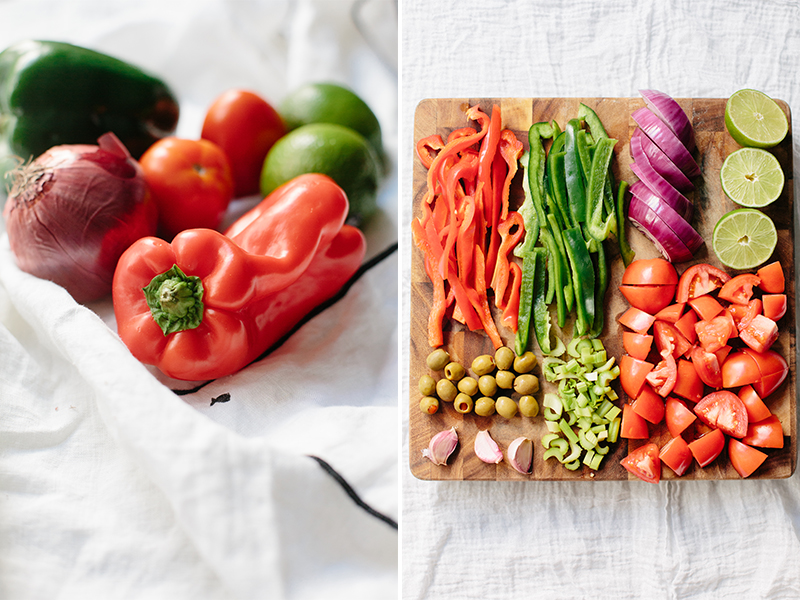
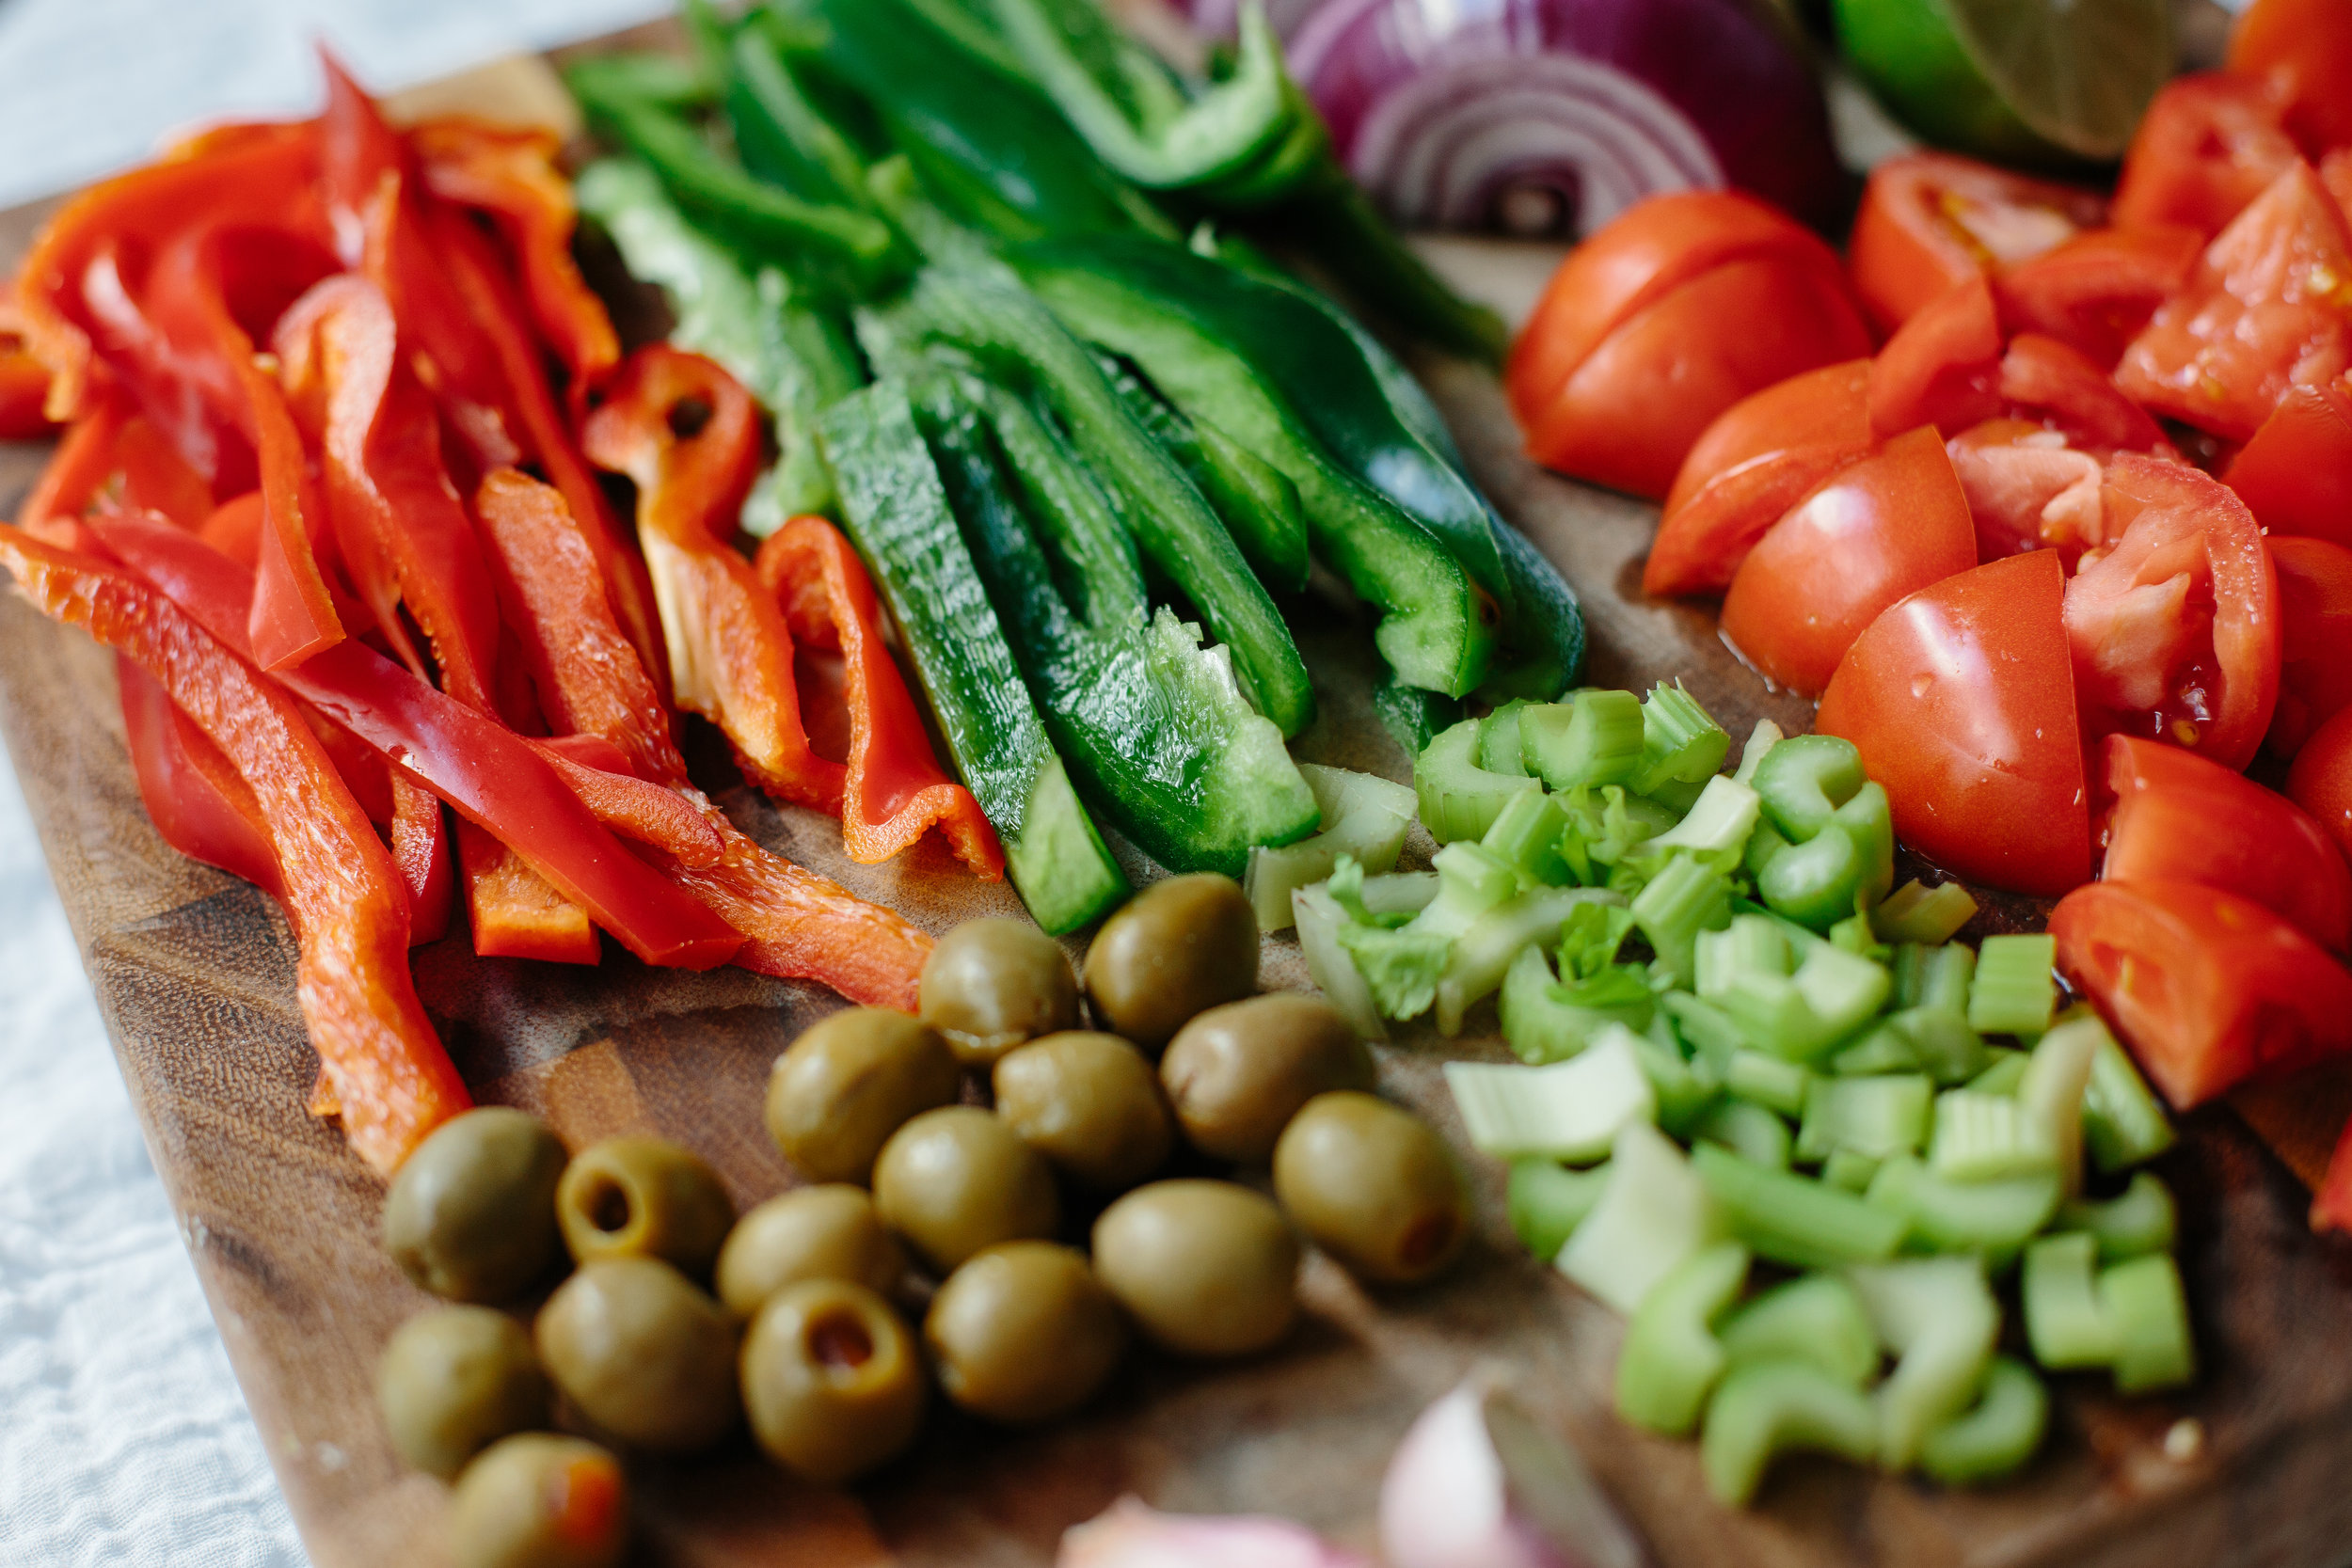
-2 lbs. of chicken thighs (skin on and bone in) - 2 limes, freshly squeezed - 1 teaspoon of oregano - 1 small onion, chopped - 2 stalks celery, chopped - 3 cloves of minced garlic - 2 tablespoons of vegetable oil - 1 teaspoon of sugar - 4 small tomatoes, chopped - 2 bell peppers, sliced - 1 jalapeno, diced with seeds removed - 15­-20 green olives - 1 cup (8 oz.) of tomato sauce - cilantro for garnish - 1 teaspoon of salt - 1⁄2 teaspoon of pepper

Directions:

image1

  1. Squeeze the juice of both limes over the chicken thighs in a large bowl
  2. Mix together the chicken, oregano, onion, celery, salt, pepper and garlic. Marinate for at least 1 hour in the refrigerator
  3. Heat oil in a large pot and add in the sugar, browning it slightly over medium­-high heat. Be careful not to burn it!
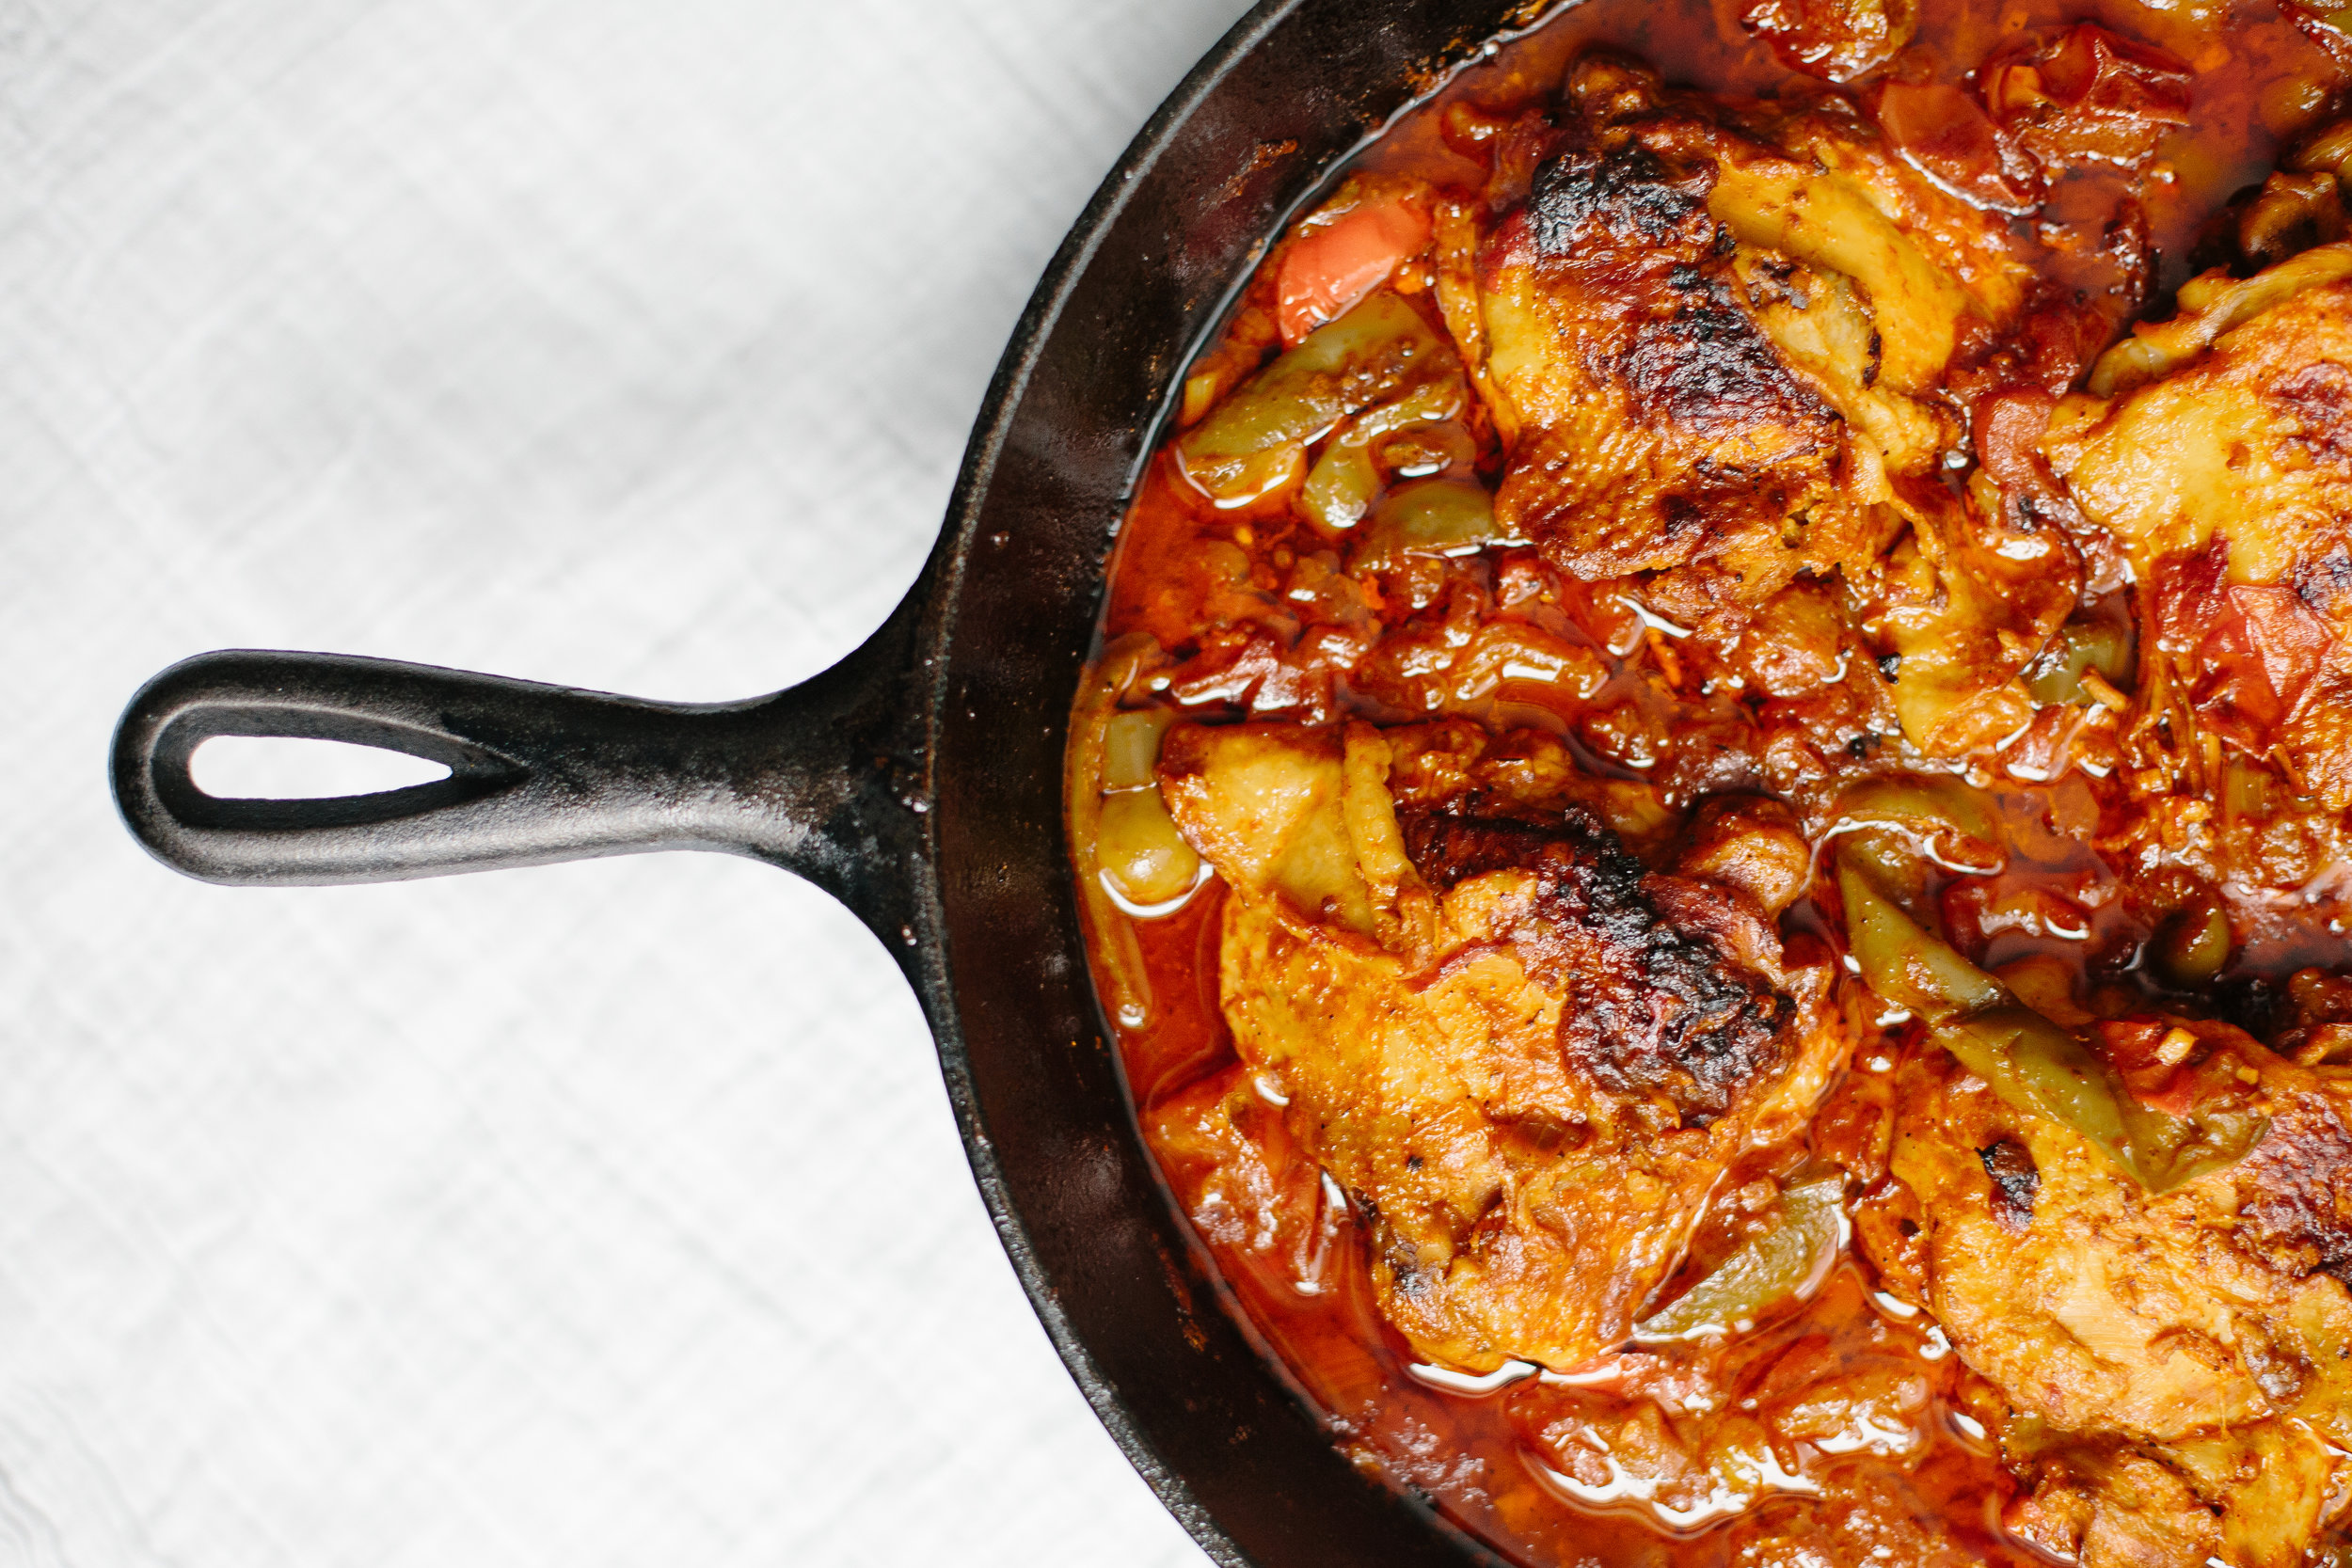
  4. Add the chicken to the pan and cook for just under an hour on each side until browned
  5. Add 1⁄4 cup of water. Cover and simmer over medium heat for 15 minutes, stirring occasionally
  6. Add onion, celery, tomatoes, bell peppers, olives, jalapeno and garlic. Cover and simmer until the vegetables are cooked through, about 5 minutes
  7. Add the tomato sauce and half a cup of water, simmer over low heat for 30-­45 minutes to let the liquid reduce. Add salt and pepper to taste.
  8. Plate each piece of chicken with some fresh cooked rice and top with cilantro

IMG_2579

IMG_2586


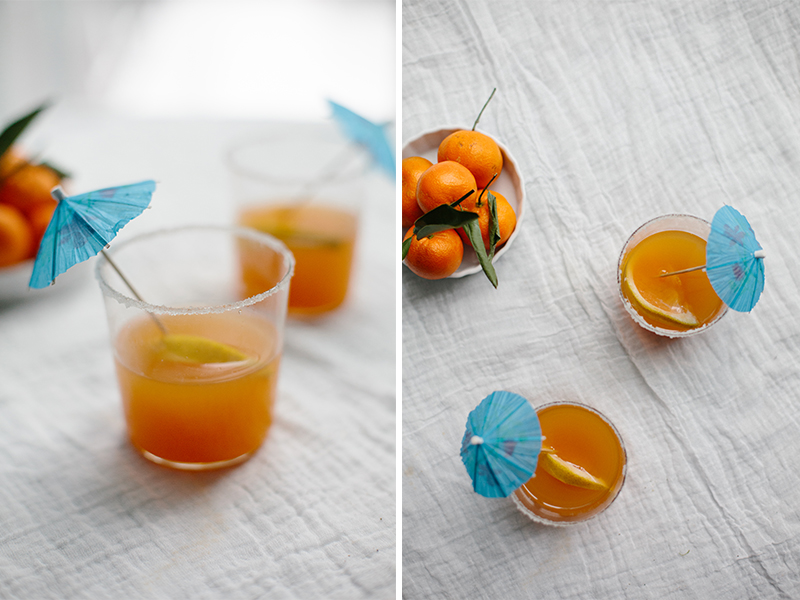
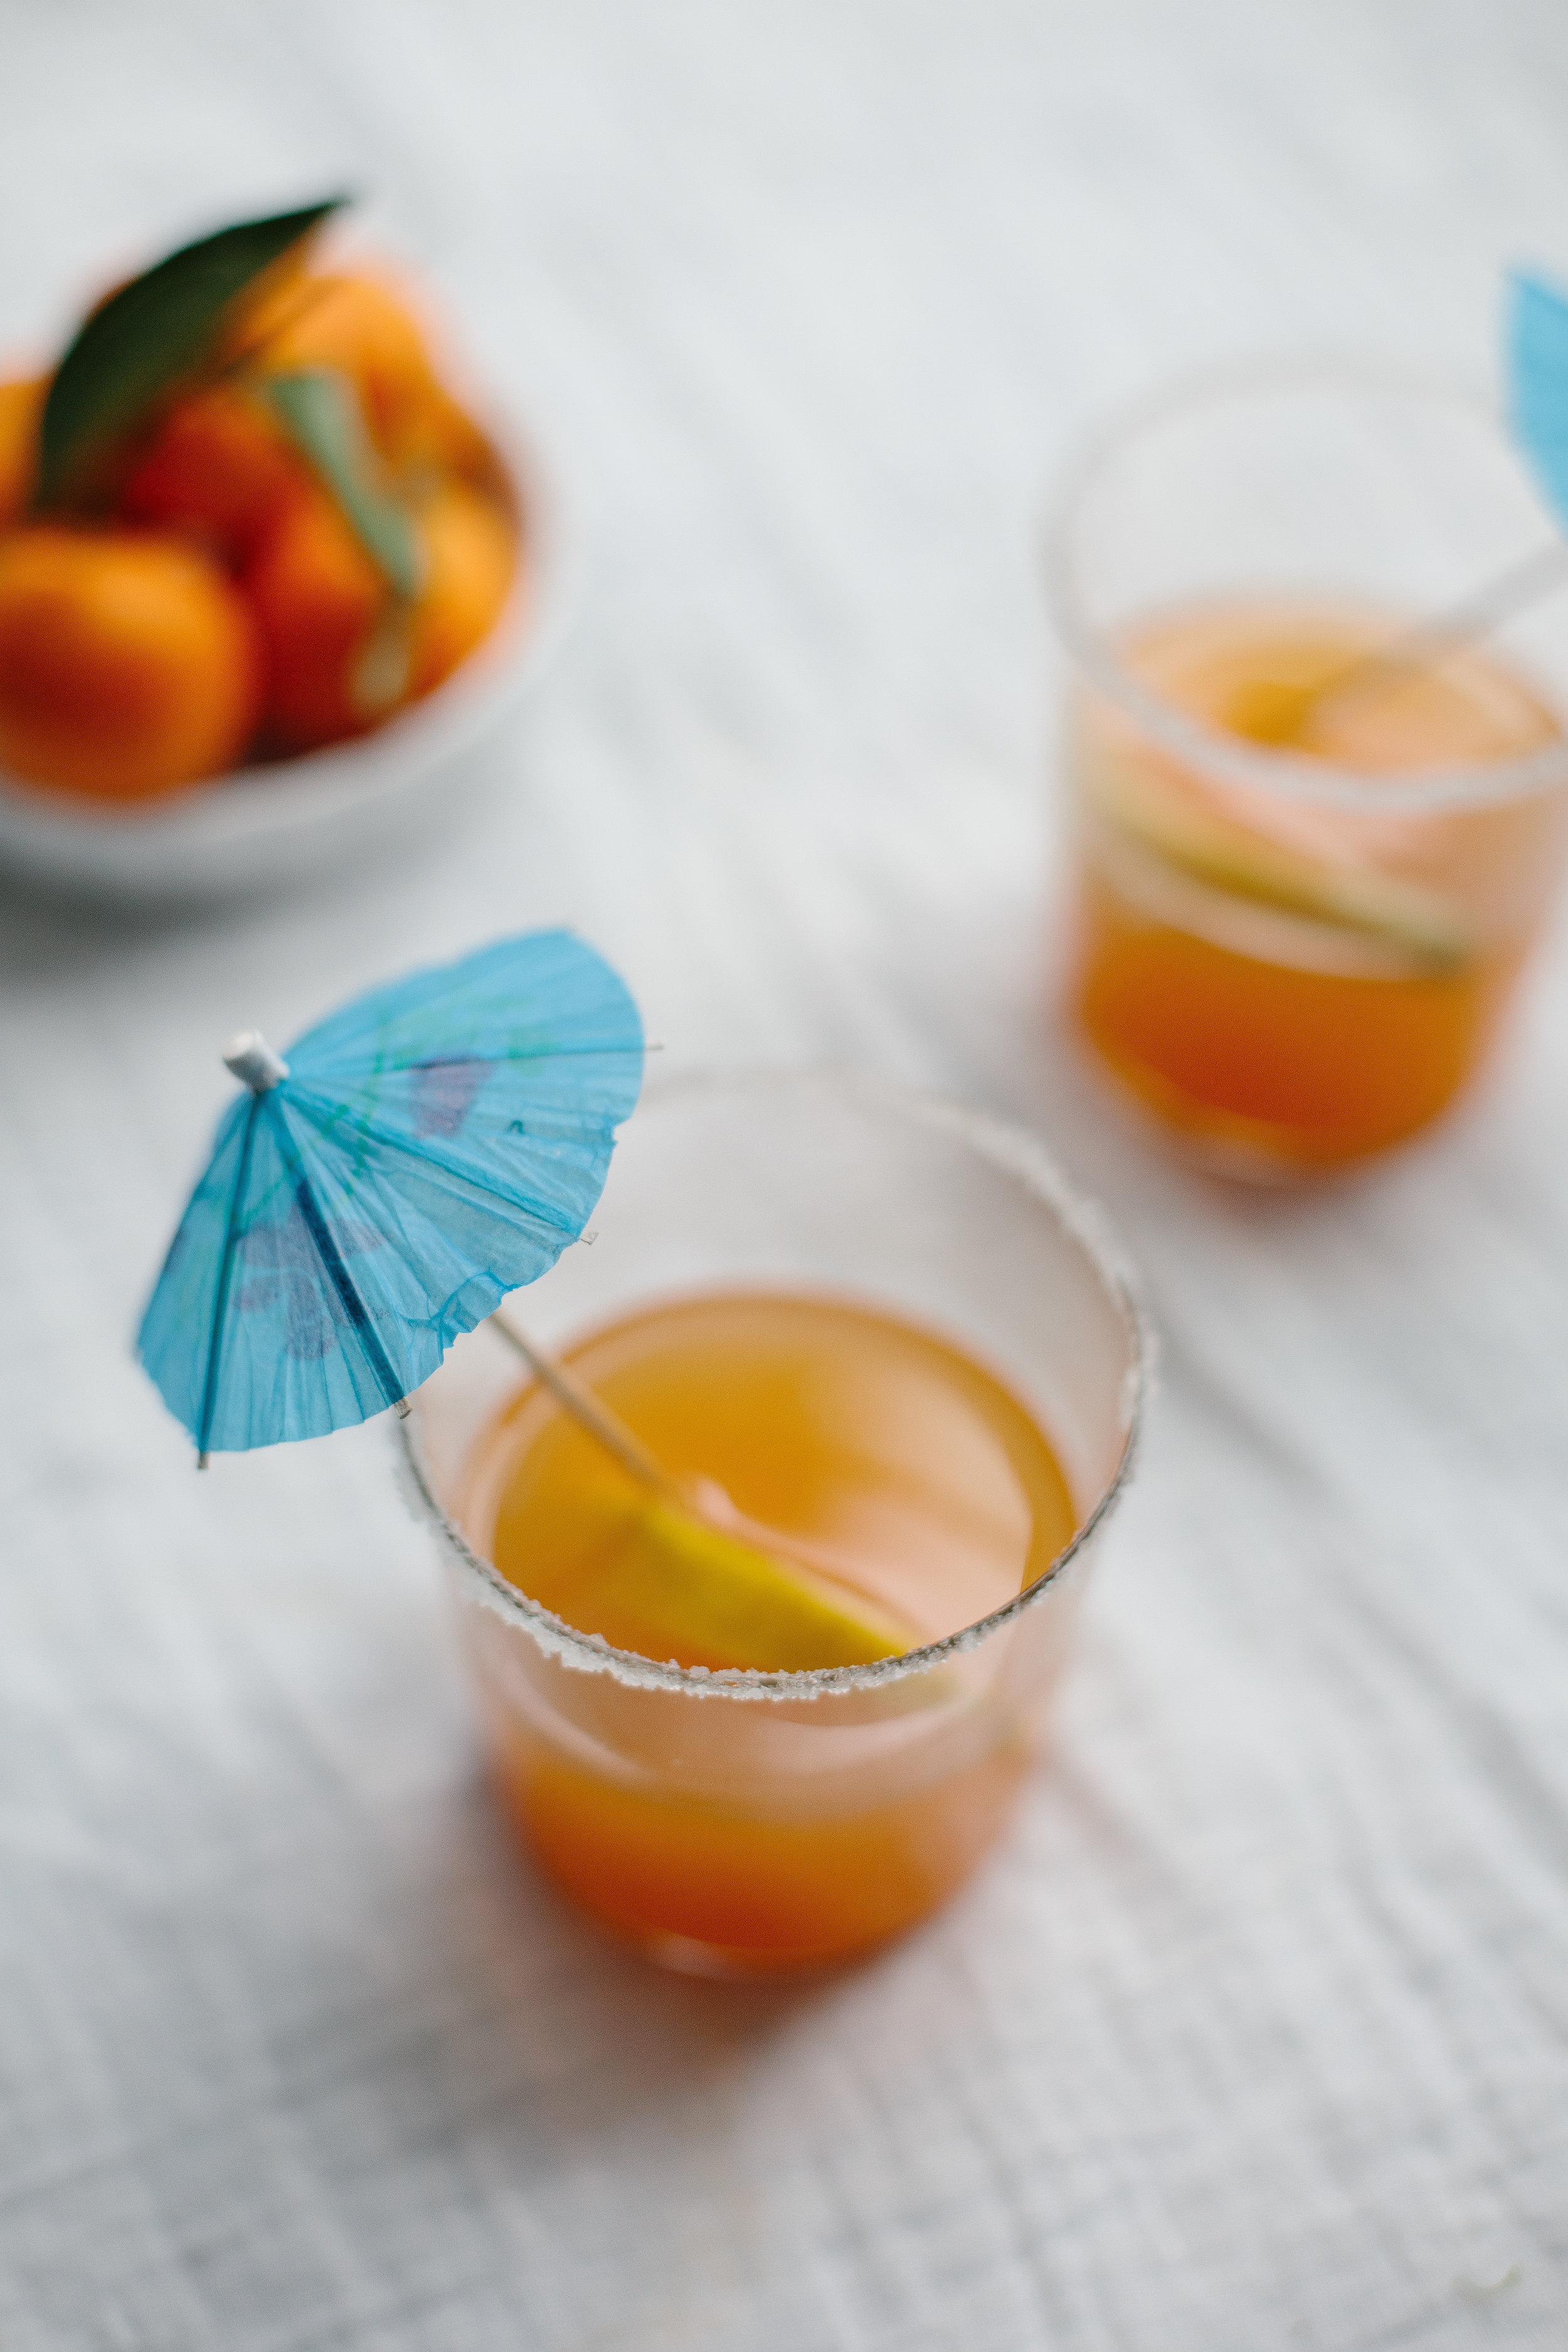
CITRUS RUM SPRITZER

image3

Ingredients

- 1 oz. freshly squeezed orange juice - 1 oz. freshly squeezed grapefruit juice - 2 oz. dark rum - 1⁄2 oz. simple syrup - 2 oz. seltzer water

IMG_2645

Directions:

  1. Combine the grapefruit juice, orange juice, rum and simple syrup in a cocktail shaker with ice. Shake vigorously for at least 15 seconds
  2. Pour liquid into a glass and top with seltzer water

IMG_2638

This post was created for Away We Go with Carnival, the destination for getting in the getaway state of mind. Head on over.
PITA TWO WAYS

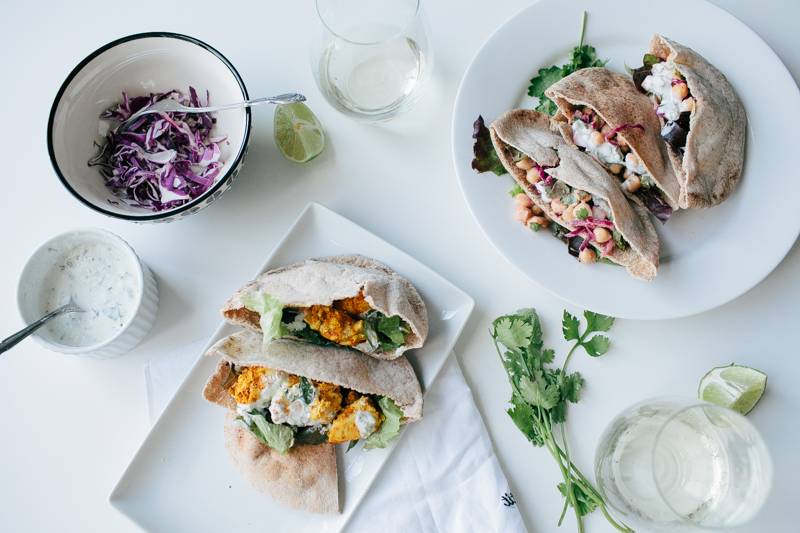
Whew, these past two weeks have been a little crazy between a quick trip to New York, catching up on some work things and starting to search for a new apartment. We are pretty sure we found a place so that's good news! Anyway, below are a few photos from two quick pita recipes I shared on The Society Co here this week. Both recipes are really simple to make (the chick pea one is easiest) so they're great for a lazy weekday meal. Hope you enjoy your weekend!

IMG_5363

[imagerow images="http://reemadesai.com/wp-content/uploads/2014/09/IMG_5136.jpg,http://reemadesai.com/wp-content/uploads/2014/09/IMG_5146.jpg"]

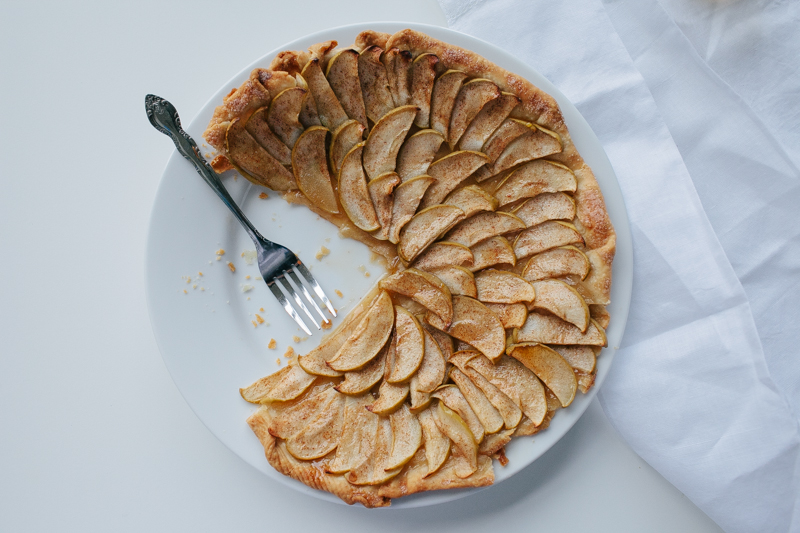
RECIPE | APPLE TART

[imagerow images="http://reemadesai.com/wp-content/uploads/2014/08/IMG_4351.jpg,http://reemadesai.com/wp-content/uploads/2014/08/IMG_4315.jpg"] IMG_4352 IMG_4332

This is a really simple dessert that looks way fancier than it actually is. It takes no time at all to make and it aside from it looking like you spent a long time on it, it's completely delicious. I wrote out the crust and filling recipes separately because in a pinch, you can easily use a pre-made pie crust to save time. If you're using a pre-made crust, just skip the first part of this!

INGREDIENTS (crust):

- 1 1/4 cups all-purpose flour - 1/2 cup unsalted butter, chilled and cut into inch-size pieces - 1/4 teaspoon salt - 3 tablespoons and 1 1/2 teaspoons ice water

DIRECTIONS (crust):

  1. Combine flour, salt, and butter in a food processor. Pulse for about 10-20 seconds until the mixture resembles coarse crumbs.
  2. Pour half of the ice water into the food processor and pulse again for about 5 seconds.
  3. Pour in remaining ice water and pulse again until the mixture starts to come together.
  4. Set dough out onto a wooden surface, pat into round shape, and flatten it to form a disc.
  5. Wrap your disc in plastic wrap and refrigerate for at least 30 minutes until ready to use.


INGREDIENTS (filling):

- 1/4 cup sugar - 1 teaspoon ground cinnamon - 4-5 apples (I used Granny Smith), cored and thinly sliced (technically you should peel them too but I forgot and didn't feel like it made a difference at all) - 2 tablespoons honey - 1 teaspoon vanilla extract

DIRECTIONS (filling):

1. Preheat oven to 425°. 2. Place your dough on a lightly floured surface and roll into a 12-inch circle. Place your dough on a cookie sheet or pizza pan. 3. Combine your sugar and cinnamon, and sprinkle 1 tablespoon over the dough. 4. Arrange your apples on top of the dough, working your way from the outside edge of the dough to the center overlapping each piece. 5. Once you've arranged your apples, sprinkle the remaining sugar mixture over them and bake at 425° for 30 minutes. 6. While your tart is in the oven, combine honey and vanilla in a microwave-safe bowl. Microwave for 40 seconds. 7. After baking, brush the honey mixture over your tart and serve warm.

Recipe adapted from here and here.


CANDIED PECANS

Today I wanted to share something that isn't a full recipe, but more of an ingredient that I'm really liking lately.

I recently had dinner at Matchbox before going to see The Grand Budapest Hotel (it was great!), and had a realy good salad with candied pecans on top. I made some at home recently, and I'm so excited to make another big batch to toss on to salads or let's be real, ice cream.


INGREDIENTS:

- 1 cup pecan halves (I used chopped pecans instead) - 2 tablespoons butter - 2 tablespoons brown sugar - 1 teaspoon honey

INSTRUCTIONS: 1. Melt butter in a pan over medium heat 2. Add your pecans to the pan, and coat them in the melted butter 3. Add sugar and stir until caramelized 4. Spread out on wax paper to cool. Drizzle on honey, and sprinkle on an extra pinch or two of sugar while they cool.

Note: be careful - these little guys can start burning quickly!

Recipe adapted from here.

RECIPE | ROASTED BRUSSELS SPROUTS

This is a really good, really easy Brussels sprouts recipe that takes just about no time at all. It's especially good to make for people who think they dislike Brussels sprouts! Special note: it's really important to use fresh sprouts vs. frozen ones for this recipe. Enjoy!

INGREDIENTS:

- 1 bag of fresh Brussels sprouts - 1/4 cup olive oil - 1 1/2 teaspoons honey - 1 teaspoon cayenne pepper - 1 teaspoon paprika - salt and pepper (to taste)

INSTRUCTIONS:

1. Preheat your oven to 350 degrees F. 2. Rinse your Brussels sprouts with water, trim the stems and cut them in half. 3. Toss your Brussels sprouts in olive oil and mix in the honey, cayenne, paprika, salt and pepper. I typically use my hands to mix all the ingredients in, and to make sure that all the sprouts are well-coated. 4. Cook your Brussels sprouts in the oven for 25-30 minutes or until you notice some getting browned and crispy.

RECIPE | BAKED ASPARAGUS

IMG2

The other night we made a really nice flank steak with a chipotle rub and I made some asparagus to go with. The recipe was really simple and easy to follow. Enjoy!

- 1 bunch of asparagus - 1 tbsp balsamic vinagrette - 1 tbsp olive oil - 1/2 tsp cayenne pepper - 1/2 tsp paprika - 1 tsp minced garlic - 2 tsp honey - salt and pepper (to taste) - bread crumbs (to sprinkle on top)

First, wash your asparagus and break off the ends (I used to cut off the ends of asparagus but I recently read that you can just break them off with your hands and they'll break at the correct point naturally - it saves so much time). Then, lay all of your asparagus out onto a baking sheet and pour your olive oil over. Add all of your ingredients except for your bread crumbs and use your hands to make sure that all of your asparagus is coated. Lastly, sprinkle your bread crumbs on top for a nice crispy finish. Bake in your oven at 350 degrees for 20-25 minutes. Enjoy!

RECIPE | RED SANGRIA

The Columbia is one of the oldest restaurants in Florida and its just so good. For the fourth of July, we decided to try our hand at their red sangria recipe. Their sangria is a favorite, but this at-home version was pretty close. They have lots of other recipes on their website I'd recommend too.

The Columbia's Red Sangria Recipe

Ingredients - 1 bottle Spanish red wine - ¼ cup Spanish brandy - 2 tablespoons lemon juice - 2 tablespoons orange juice - 1 tablespoon sugar - 1 cup club soda - 1 sliced lemon - 1 sliced orange - 2-3 whole cherries

(note: I substituted apple slices for cherries)

Preparation Mix all ingredients in a large pitcher. Stir with a wooden spoon until well mixed. Pour into large wine glasses. Garnish with orange slices and cherries. Add ice to pitcher. Serves 4.

source